- TOSIZE.it
- Do it yourself
- DIY Projects
You can make a trash bin to separate waste yourself, by handyman expert Ivonne
You can make a trash bin to separate waste yourself, by handyman expert Ivonne
Create this project yourself with sheet material cut to size by TOSIZE.it!
Ivonne
Average
4 minutes
Learn how to make your own trash can to separate waste with the help of handy DIY tips. This guide takes you step by step through the process of creating a functional and practical waste bin, specially designed for separating different types of waste. Discover creative solutions and smart designs to achieve environmentally friendly and organized waste sorting in your household. Make your own trash can today to contribute to a more sustainable lifestyle.
Description
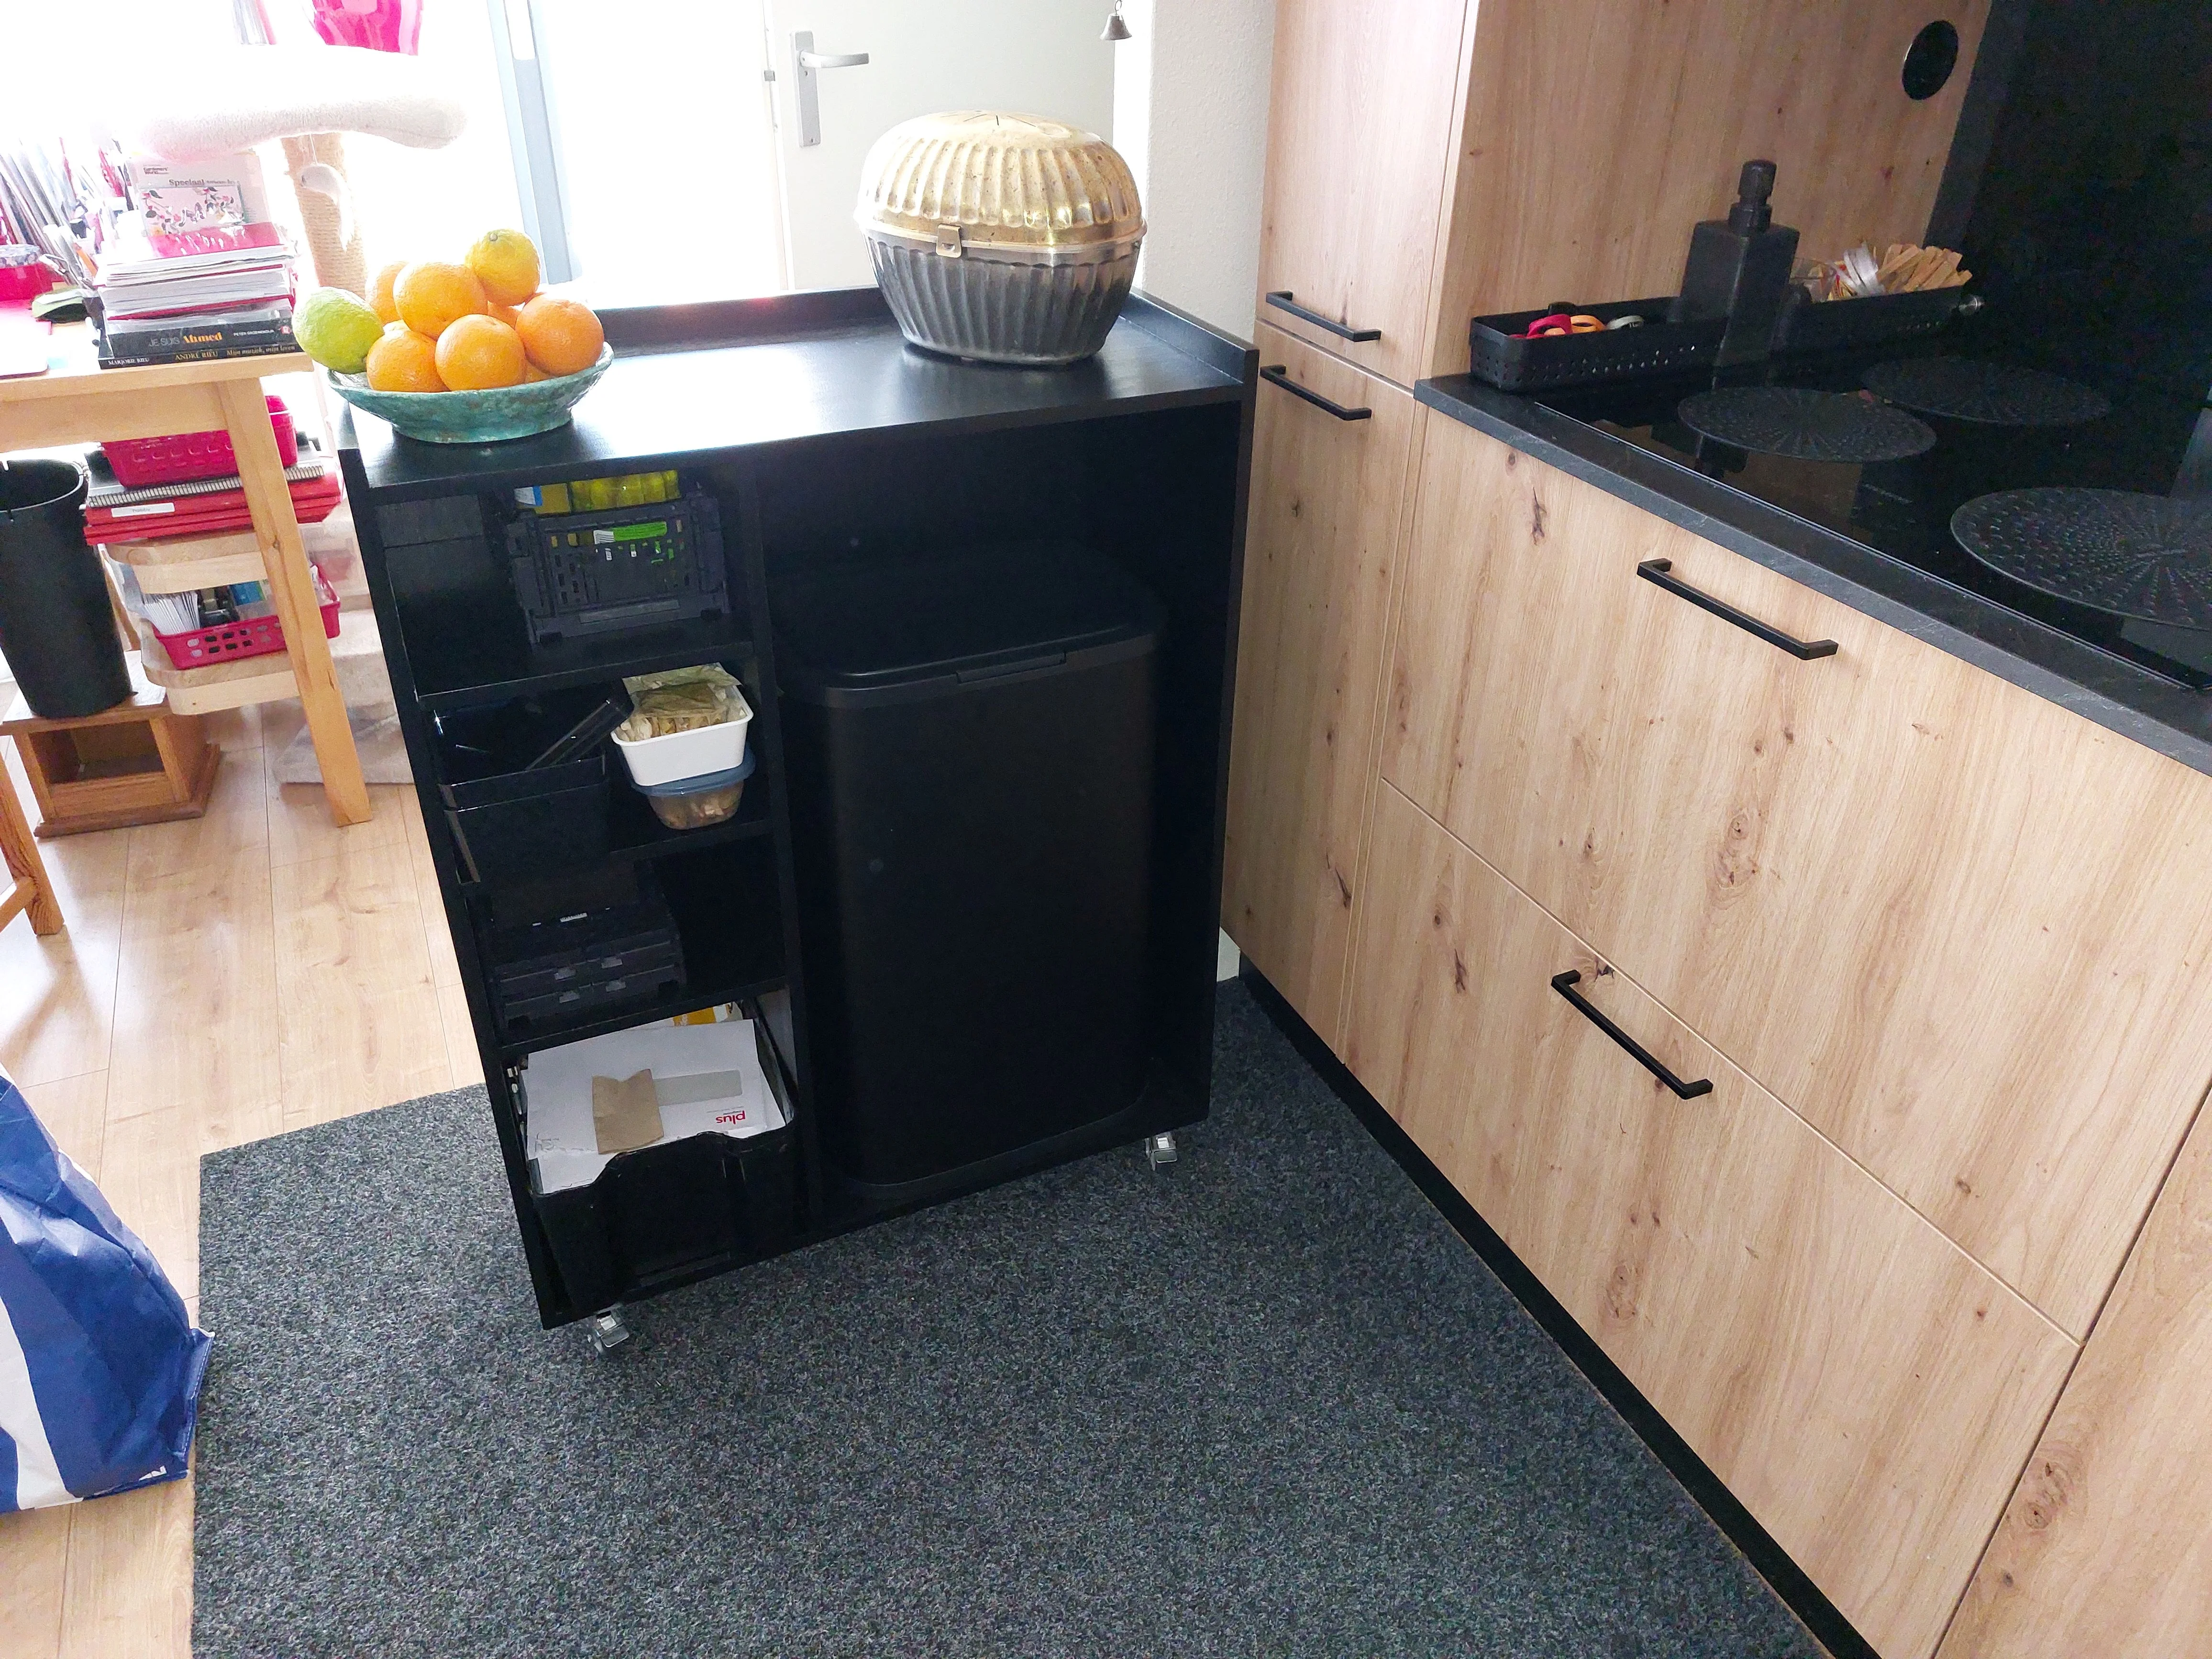
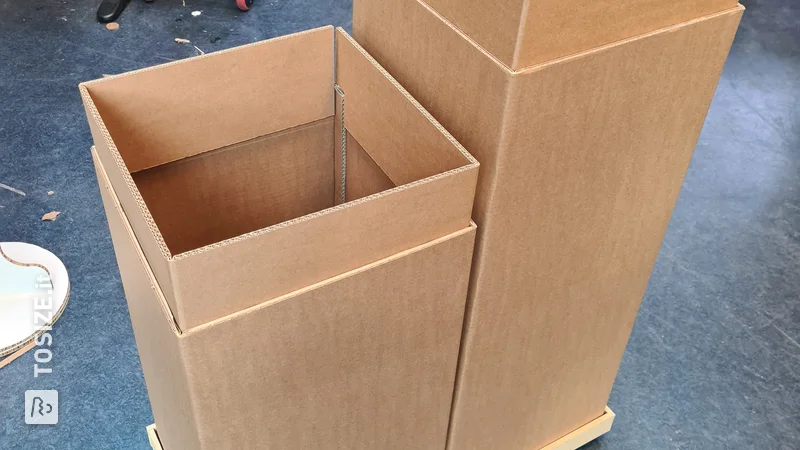
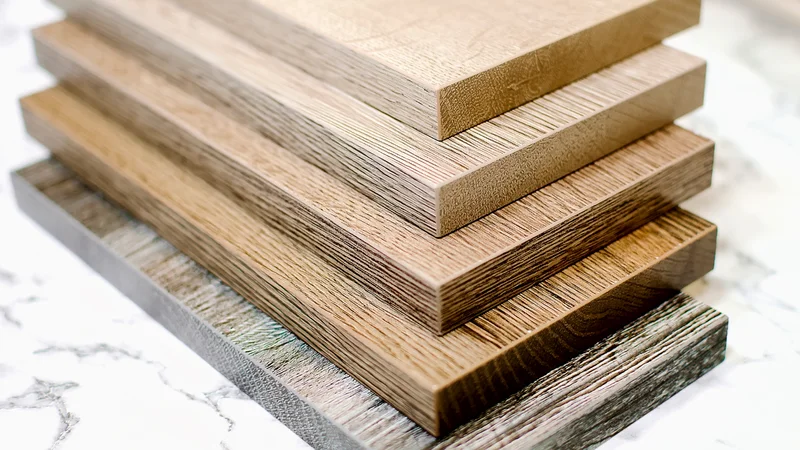
Have you ever thought about designing your own trash can? Then you can be sure that it fits your interior! We have discovered that separating waste also becomes a lot easier when you have a suitable trash bin for this. We started working on a design for our office, and see the result here. Multiple containers fit in, so you can easily separate the waste. And by using MDF Black V313 and OSB 3 it also looks stylish out!
How I made this project
We have already sawn all the material to the millimeter. It's your job to attach the planks together. You do this as follows:
Step 1:
Get all your materials and tools ready for use. This takes a little more time up front, but it helps a lot if everything is within reach during the job! The material MDF Black V313 may give off some color when you work with it. Keep this in mind.
Step 2:
Place the back of the trash can on your work surface, with the mitered edge facing down. Place the sides of the trash can with the edges flush against it. Also with the mitered edge down. And do the same with the front of the trash can. Tape the edges together with tape. Tightly taped? Carefully turn the plates over. Spread construction adhesive on the mitered edges and 'fold' the edges closed, creating the base of the trash can. Apply extra tape to keep the plates in the right place and allow them to dry properly. Check the exact drying time on the packaging of the glue you are using.
Step 3:
Also attach the bottom of the trash can with glue and then tape it securely to position the shelves correctly place to dry. Leave the tape around the mitered edges for some strength while the glue dries and the further construction of the trash can.
Step 4:
Attach the piano hinge to the lid of the the bin. Mark the length of the box on the hinge and cut it to the correct size with a hacksaw. It is best to attach the hinge just a little outside the edge. This looks the best!
Place the other side of the piano hinge on the trash can itself. This is a precise job! If necessary, place something under the lid for support, so that it can rest on it when you screw the piano hinge into place.
Step 5:
Place the handle on the top of the lid. Measure this in advance, so that you are sure that the handle is in the middle.
Step 6:
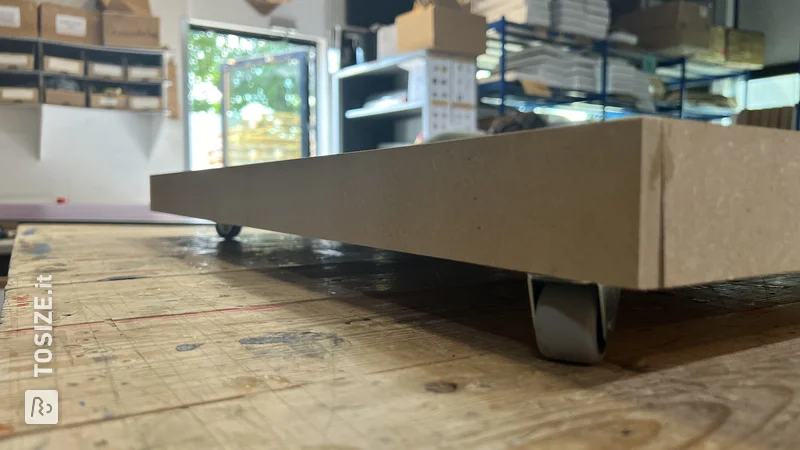
Time to place the OSB 3 legs. Glue the slats first together and you can tape them together to let it dry. Are they dry? Then screw them to the trash can.
Step 7:
Place the waste bins in the waste bin and, if necessary, add a sticker to indicate which waste the bin is for. You can finish MDF Black V313 with a transparent varnish or paint it in the color you like!
Tip: You can use two types of glue to assemble the trash can: wood glue or construction glue / effervescent glue. Wood glue has the advantage that it is easier to use because you can easily remove the excess glue with a damp cloth. Not construction glue, it is more difficult to get it off your hands and you have to cut it away with a chisel when excess glue runs out of the seams and dries. Construction adhesive, on the other hand, has a filling effect that fills any imperfections and therefore gives a better result.
Dimensions of my DIY project
58.0 x 73.0 x 41.2 cm
Tip! Also check out our handy DIY tips!
What now?
Want to make this DIY project? Check out Ivonne's saw list and complete your order easily.
179,16 €
View all sheet materials