- TOSIZE.it
- Do it yourself
- DIY Projects
DIY: TV cabinet / wall element made of MDF, by Floor
DIY: TV cabinet / wall element made of MDF, by Floor
Create this project yourself with sheet material cut to size by TOSIZE.it!
Floor
Easy
5 minutes
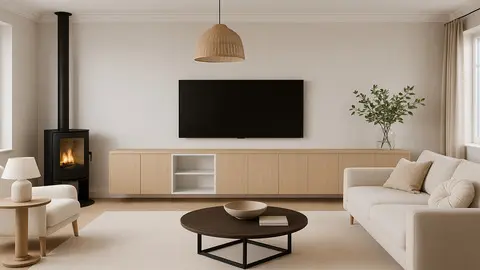
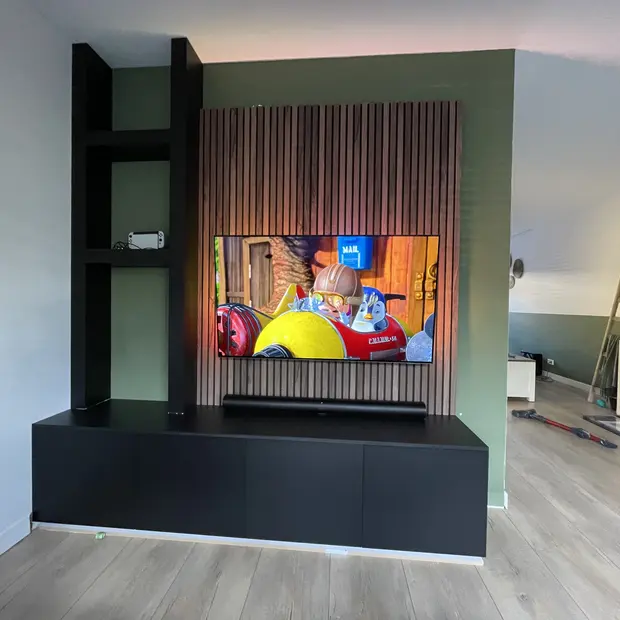
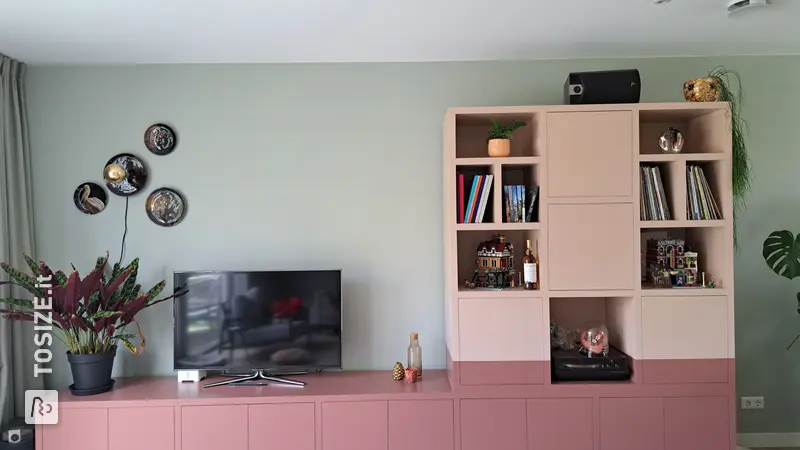
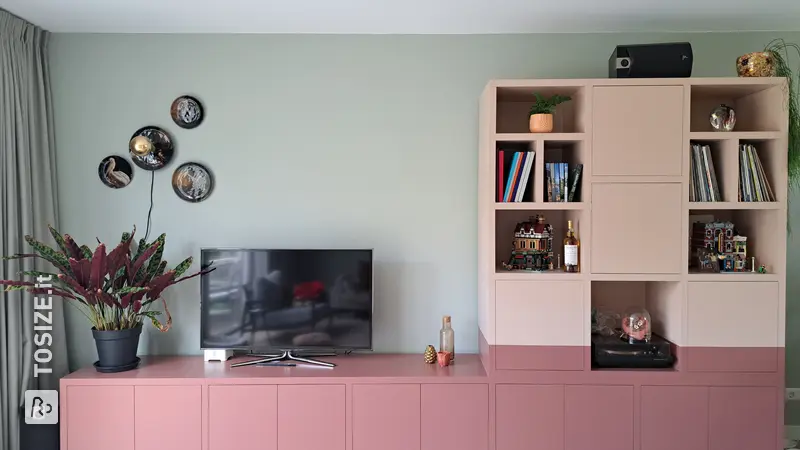
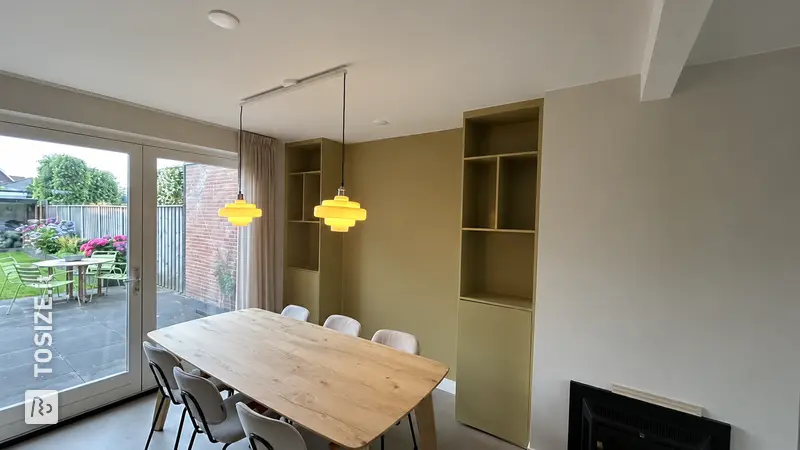
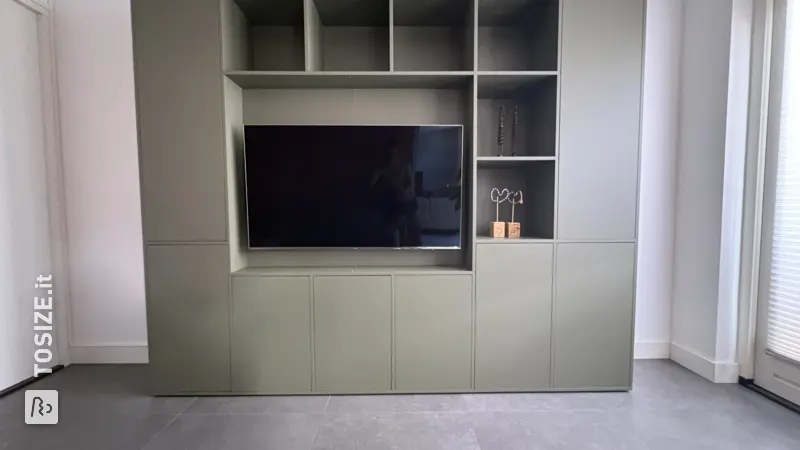
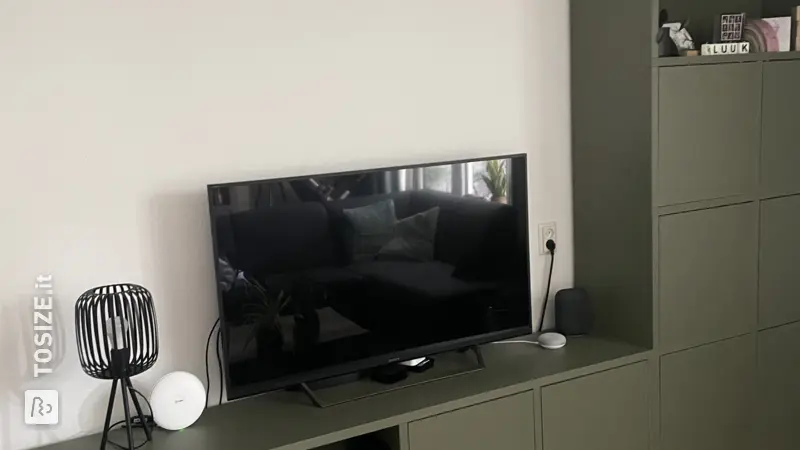
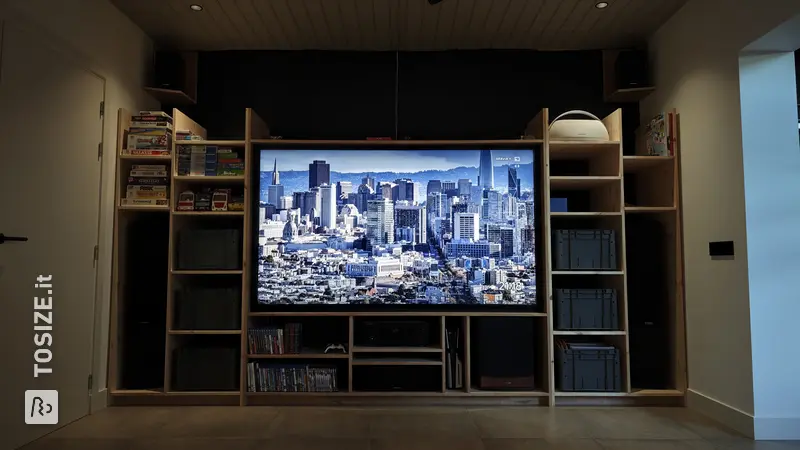
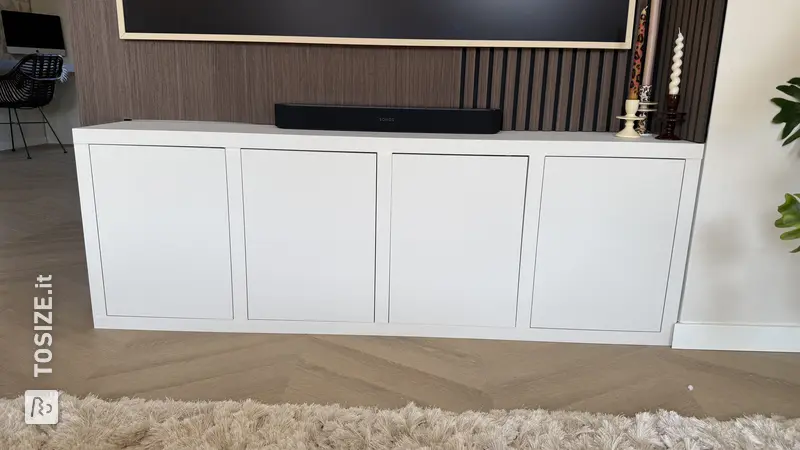
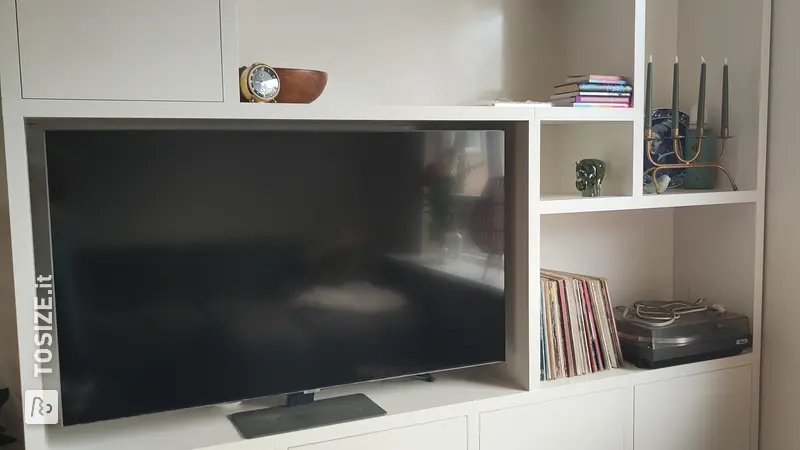
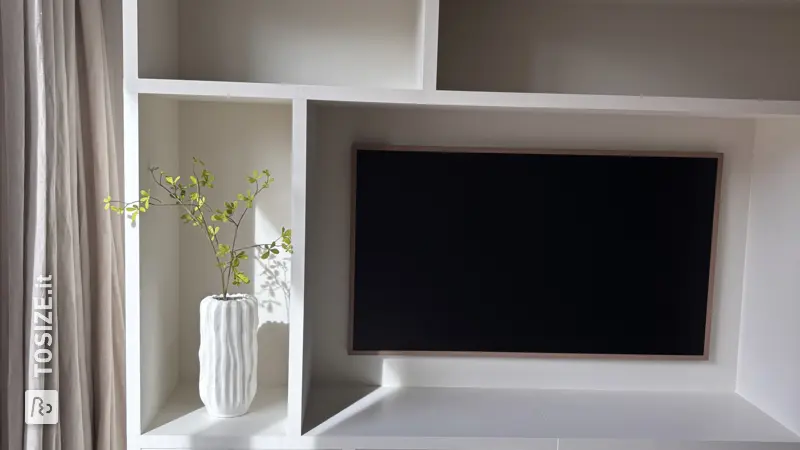
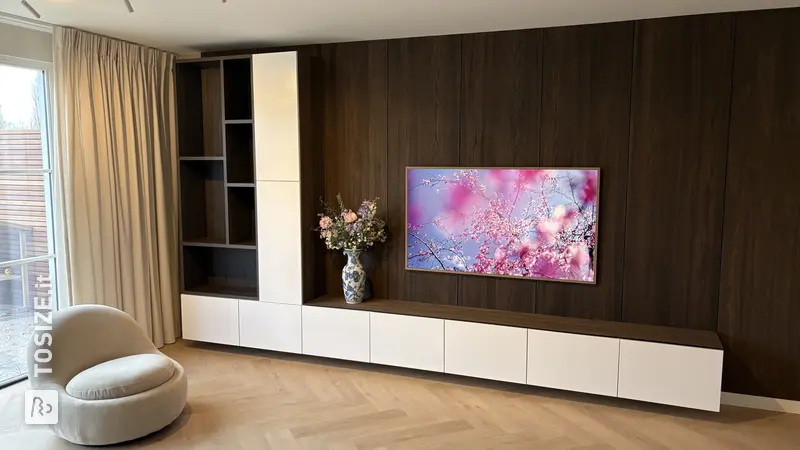
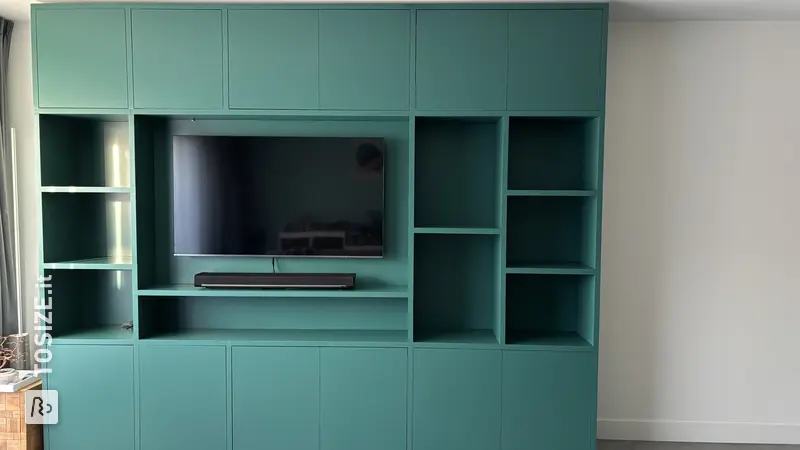
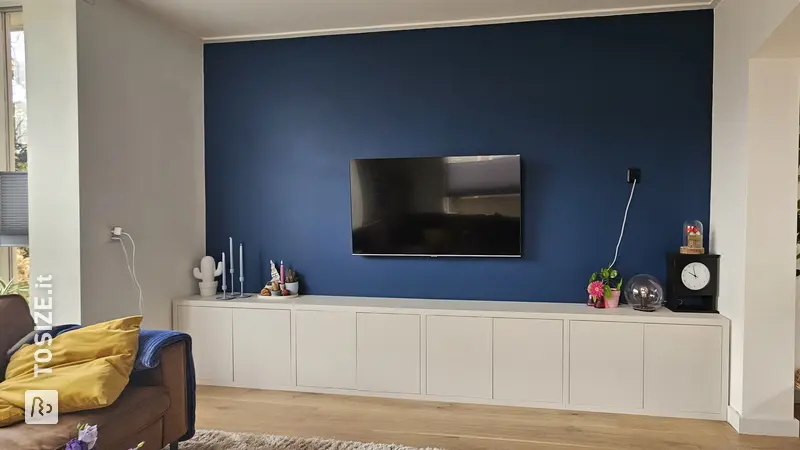
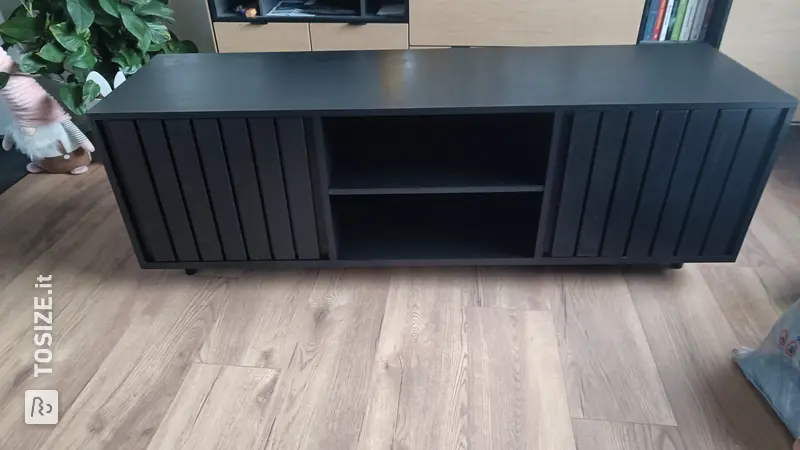
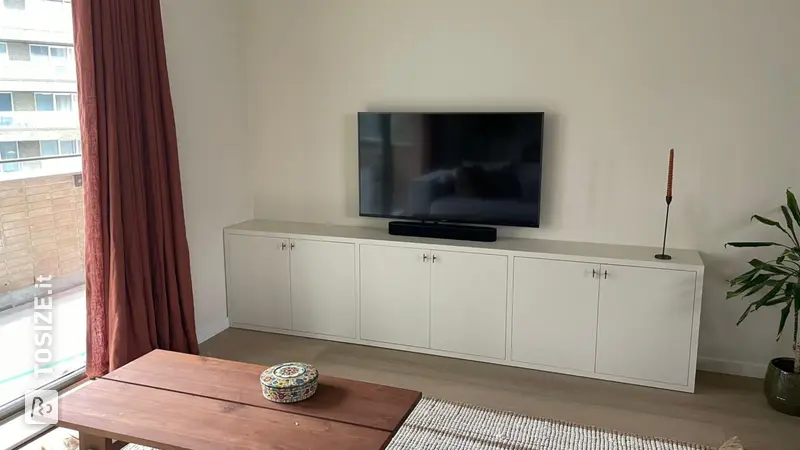
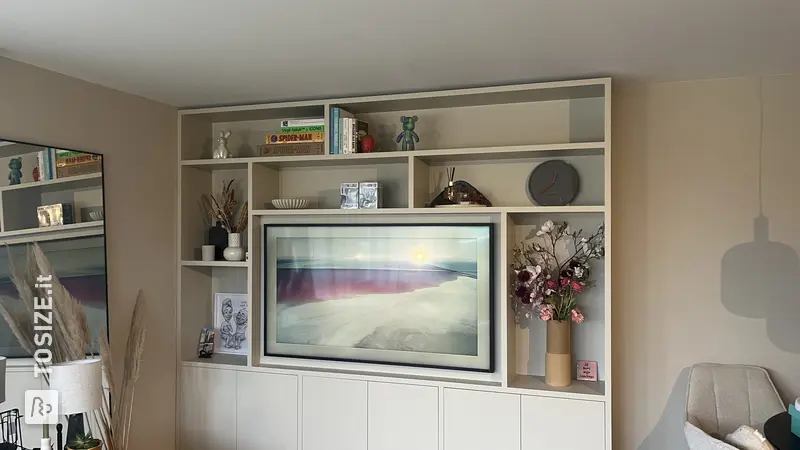
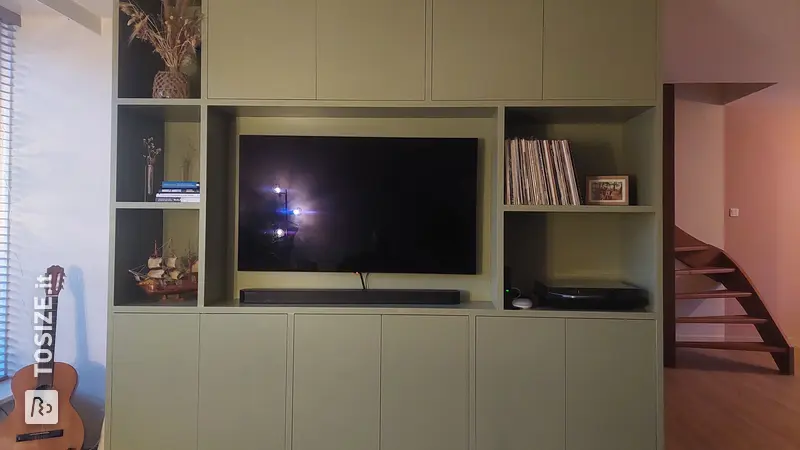
It had been bubbling and simmering for a while. Then I looked at the TV cabinet, a homemade creation from Ikea cabinets with a tray on top, once nice, but now an eyesore. I looked and looked and looked, but no matter how long and intently I looked at the cupboard, the cupboards remained the same. And then suddenly it was there, the Idea with a capital I, thanks to an advertisement in a home design magazine. Our long living room needs a piece of furniture that emphasizes its length, one that dwarfs the large black monster above it, one that becomes the eye-catcher of the house: calm and elegant, sturdy and robust. It must become one with the wall and provide a showcase for beautiful accessories, but also a functional way to conceal plugs and cabinets that currently disfigure the overall picture. And unique and not too complicated, because I have to be able to make it myself. Low-budget but with a high-effect!
The plan
The next step was to put the idea I had in my head on paper so that it could be realized. The first drawings came out fine, because I had a clear picture in my mind. But then came the less fun, but essential part: the sizes. This just isn't my strong suit. But still, with a lot of calculations and puzzling, I managed to make a suitable calculation. First of all for the first part of the furniture, because as you can see from the sketch the project will be continued.
The making of..
Now that the measurements were on paper, I could start ordering on TOSIZE.it. A simple tool on the website helps you choose exactly the right material and sizes. And very nice, the example also shows you immediately whether what you entered is correct, including mitered edges! I chose mitered edges because I wanted to see as few seams as possible on the furniture. Within two weeks I had all the necessary materials at home and I could start right away!
View all our recording material
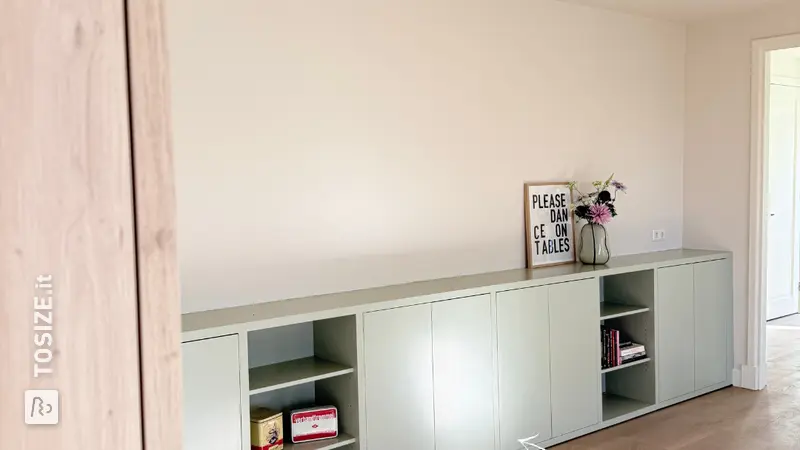
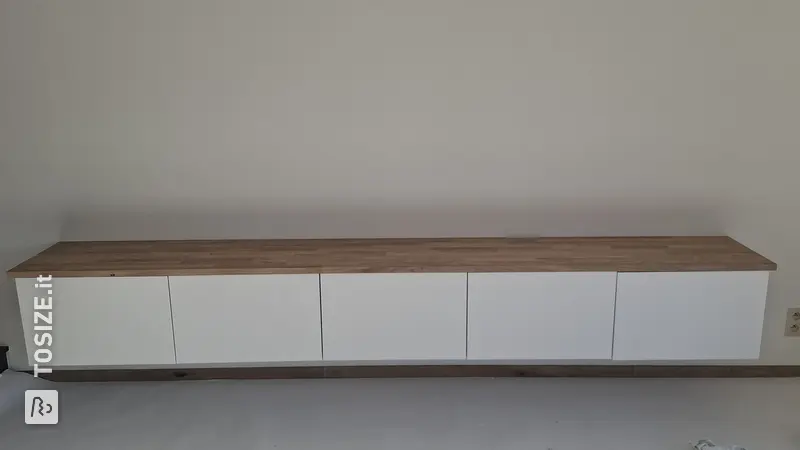
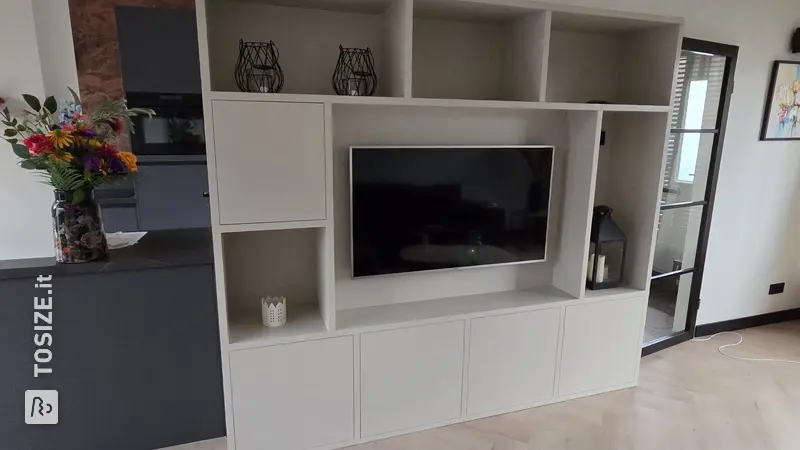
And when I say 'start right away', I really mean start right away, because patience is not my strongest point. I only had to saw the pine beams to size, so after a quick check of all sizes I started measuring and sawing. I could then start building the inner frame, a precise job, because if it were to become crooked, the plates would not fit properly on the frame. And of course it is also nice if the element is sturdy, because in addition to being a beautiful show-off spot, this becomes an ideal seating area for the kids. The element consists of two parts that I attached together. After both inner frames were connected, the MDF panels could be attached to them. A treat, because it fit exactly, and apart from the two center seams, not a single seam was visible thanks to the mitered edges. I filled all the screw holes and the center seams with wood filler and sanded them smooth so that they are no longer visible.
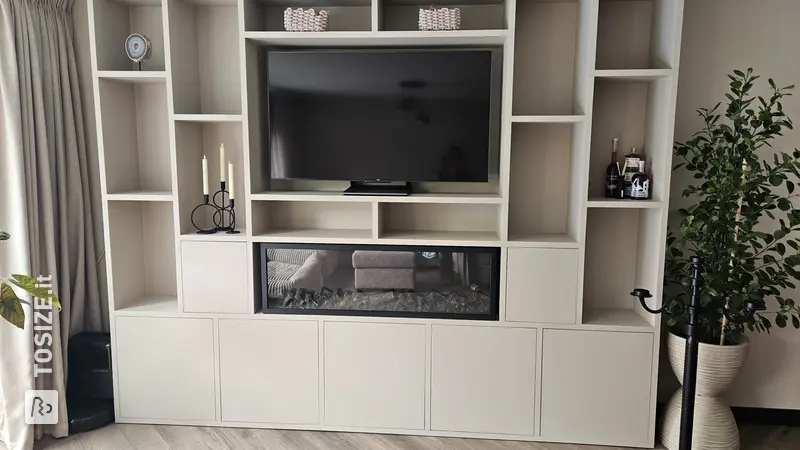
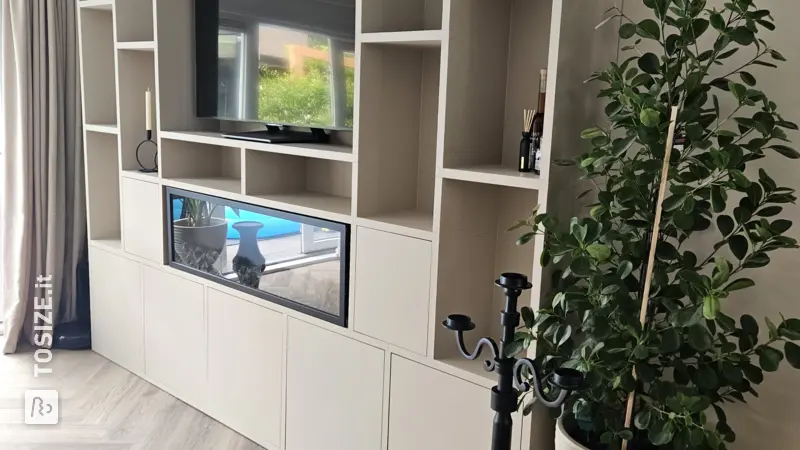
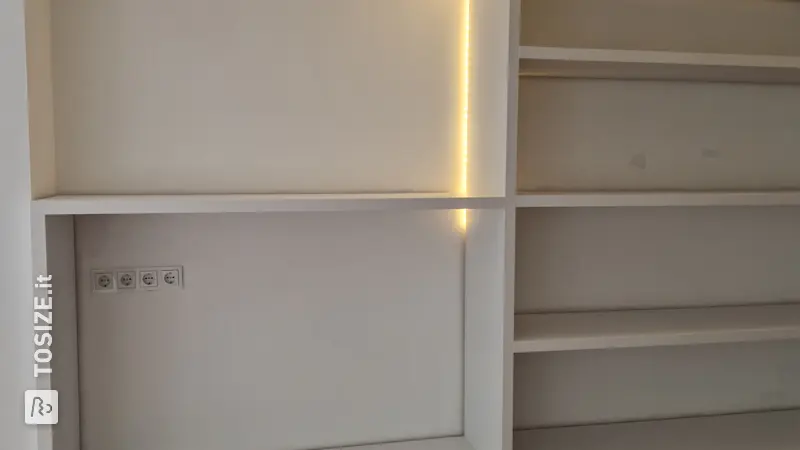
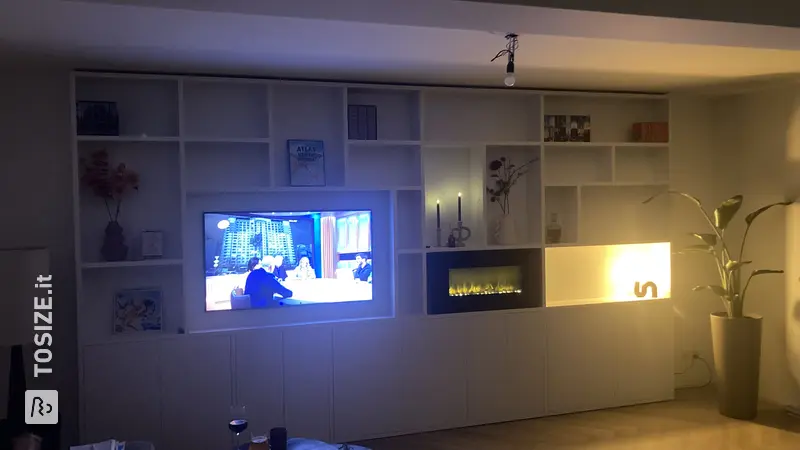
For good adhesion, I pre-treated the furniture with primer and then painted it in the same shade as the wall ( Worthy Clay from Flexa). To ensure that the element fits properly to the wall, I removed the skirting boards next to and behind the element. The final step is to seal the element, so that no seams between the wall and the element are visible, and it really becomes part of the wall. Because we are still going to renovate, I have not done this yet. In addition, the furniture will be expanded in the future.
How to
- Determine the dimensions of the element. I used a length of 360 cm, a height and depth of 35 cm.
- Order the MDF boards on TOSIZE.it. Do you want a seamless element like me? Then have the panels miter cut (top to bottom). I have no plates on the back and left side of the element, because they touch the wall.
- Calculate the dimensions of the beams of the inner frame and cut everything to size. Take the mitered edges of the plates into account, so that your frame fits within the mitered edges of the plates. You make two frames, which you will later attach to each other.
- Pre-drill the screw holes in the frame. Screw the frame together. Use a square and spirit level so that your frame is square and straight. When the first frame is finished, make another one.
- Screw the two frames together with large screws.
- Screw the MDF panels onto both frames. Screw the screws just a little deeper into the plate.
- Fill the screw holes and the center seams with wood filler and sand them flat.
- Treat the element with a primer.
- Remove the skirting boards next to and behind the element.
- Place the element against the wall, ensure that the TV cables, for example, are properly inserted into the furniture, and seal it. Paint the sealant edges with it
- Paint the element in the same color as your wall. For a concrete look effect: paint with a block brush and make X movements with the brush to spread the paint.
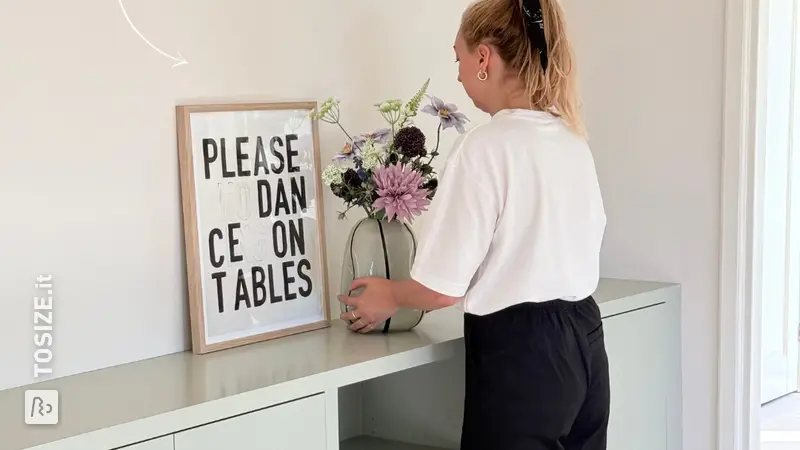
- Once everything is finished, the best part comes: STYLE IT!
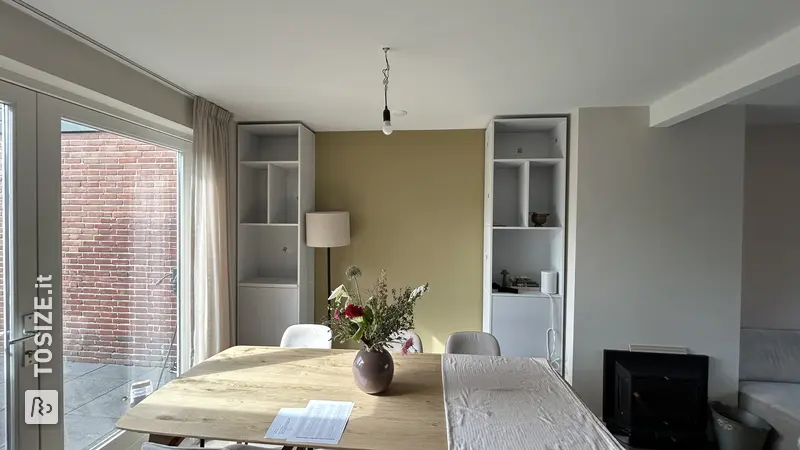
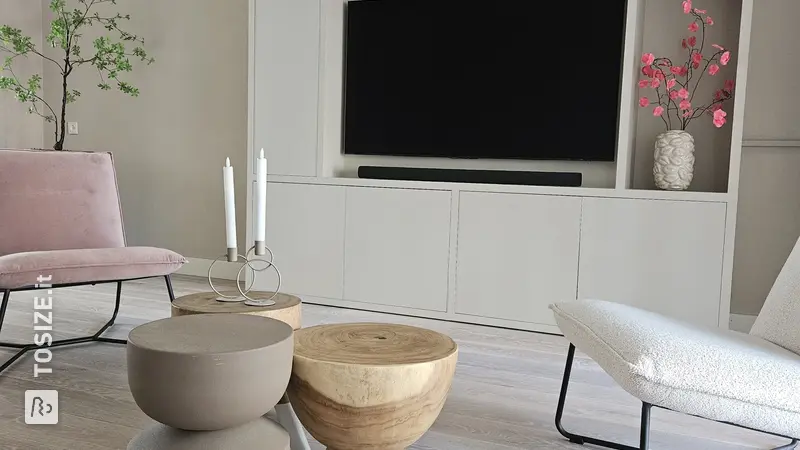
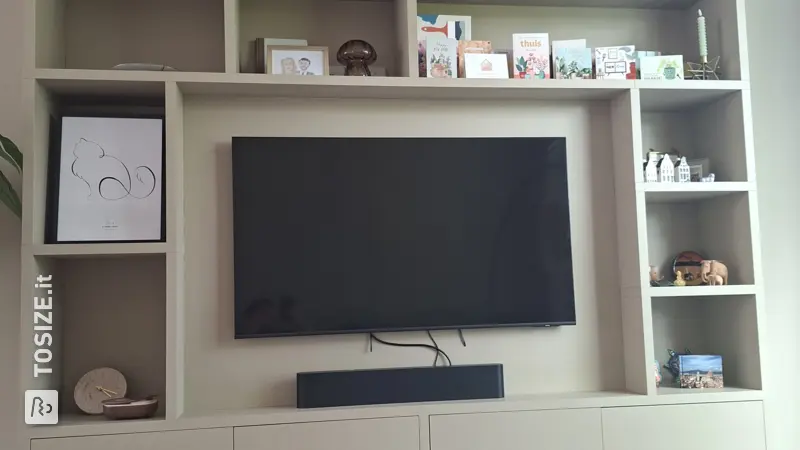
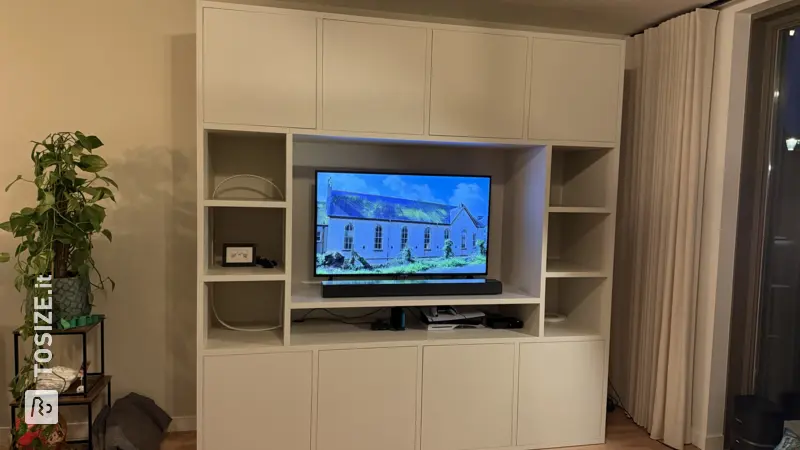
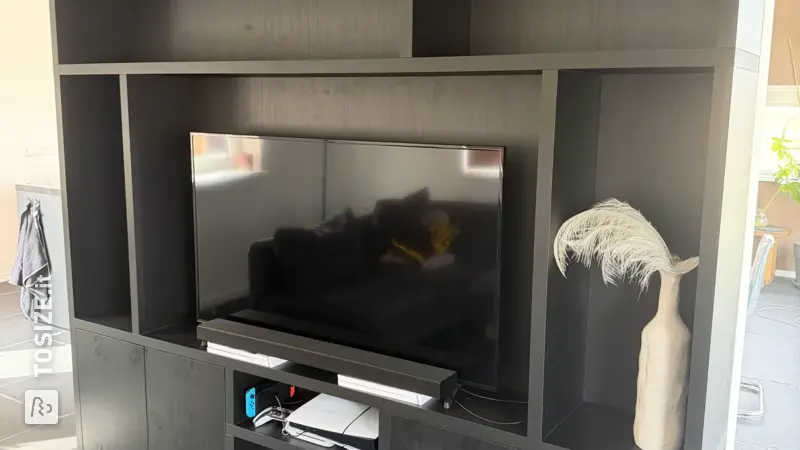
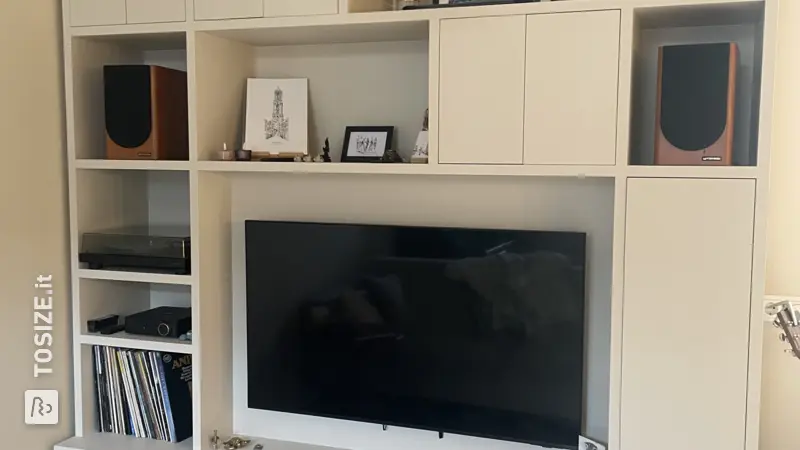
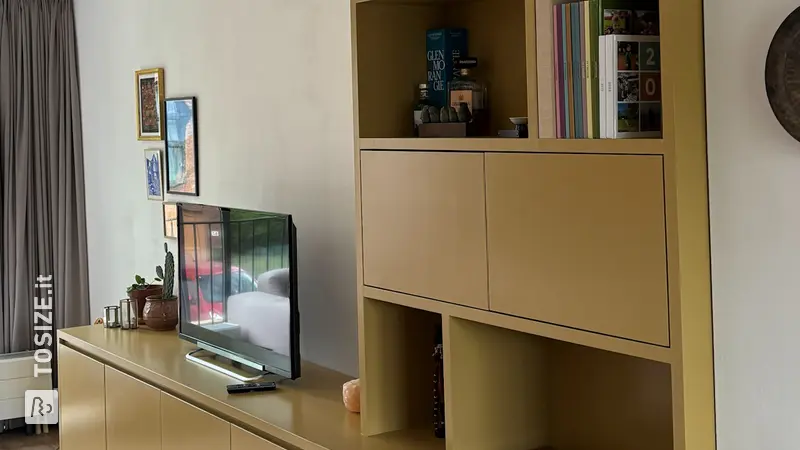
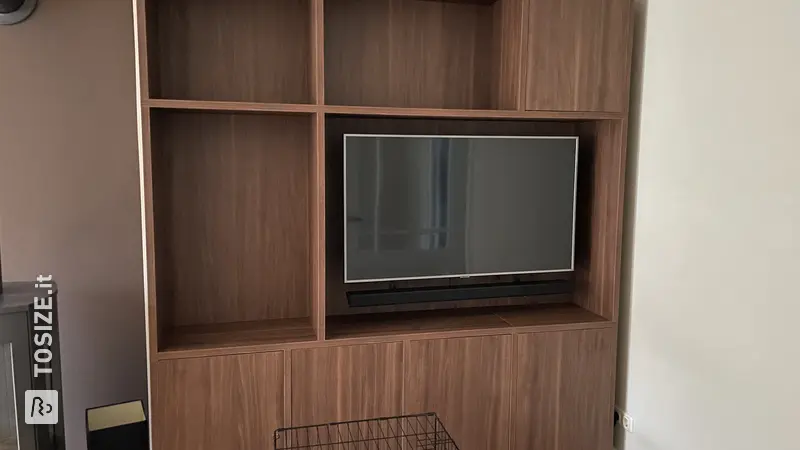
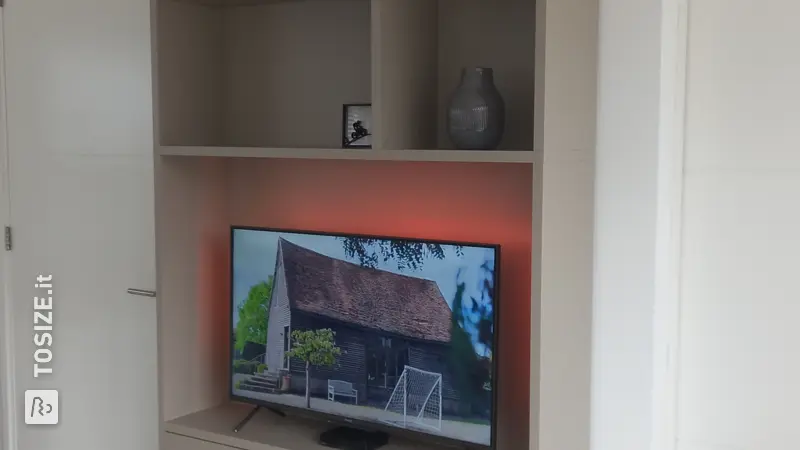
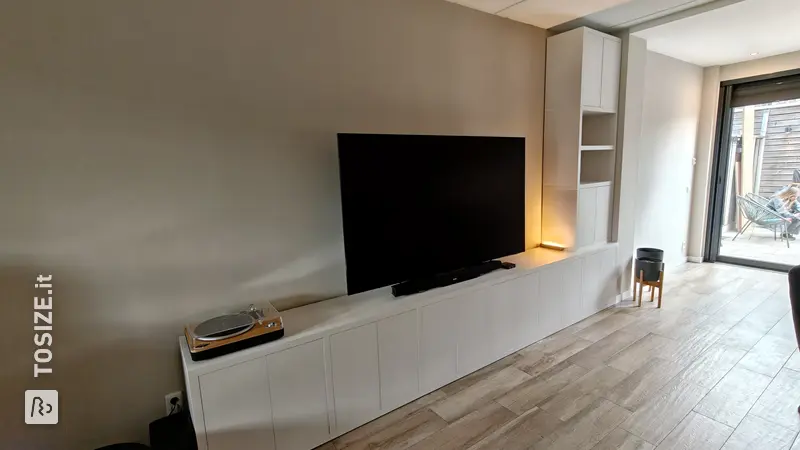
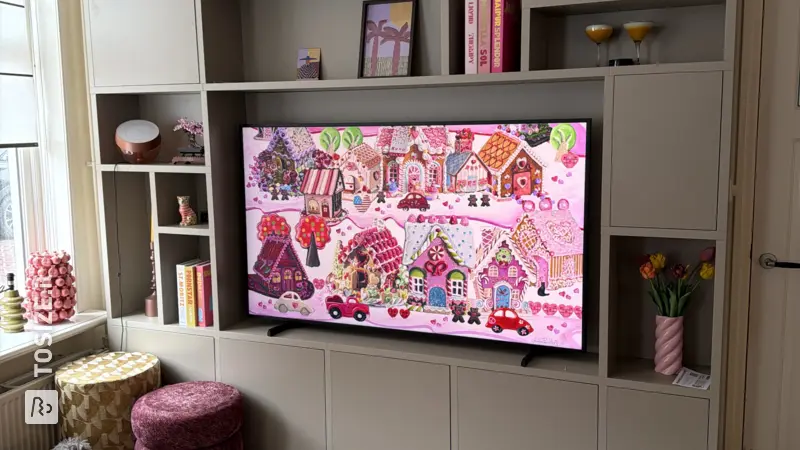
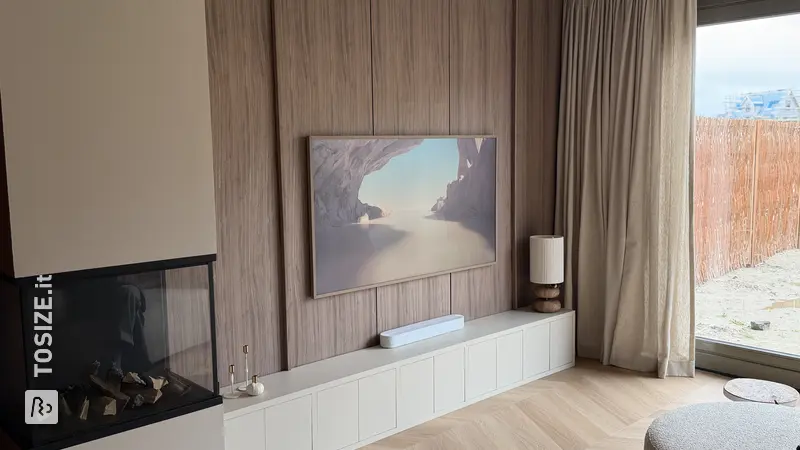
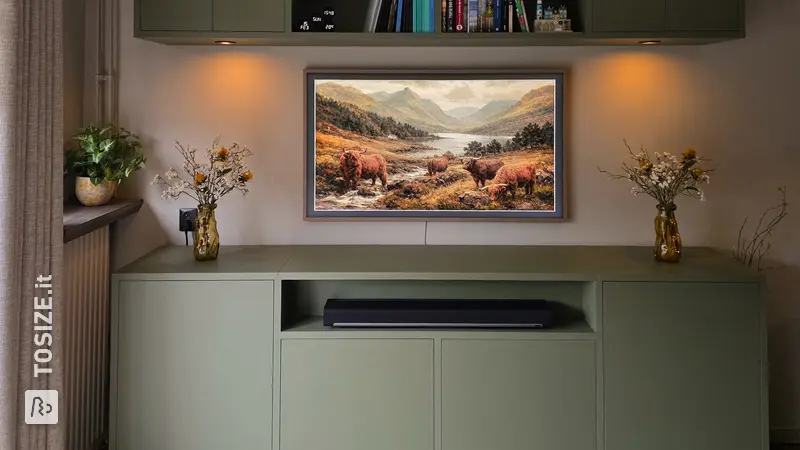
Before & ; after!
Tip! Also check out our handy DIY tips!
What now?
Want to make this DIY project? Check out Floor's saw list and complete your order easily.
243,59 €
All materials used
View all sheet materials