- TOSIZE.it
- Do it yourself
- DIY Projects
Shelving unit with bookcase, by Peter
Shelving unit with bookcase, by Peter
Create this project yourself with sheet material cut to size by TOSIZE.it!
Peter
Average
2 minutes
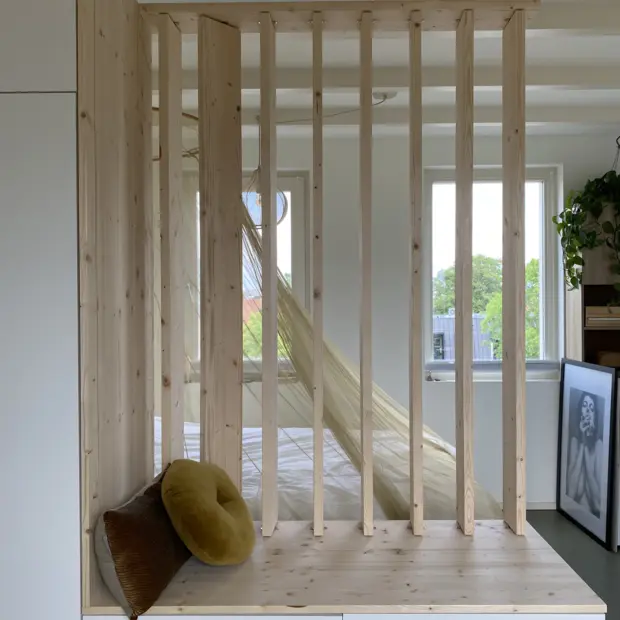
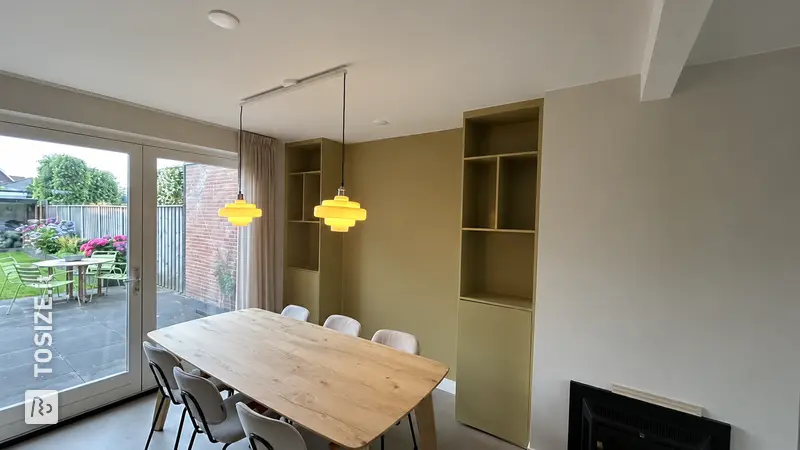
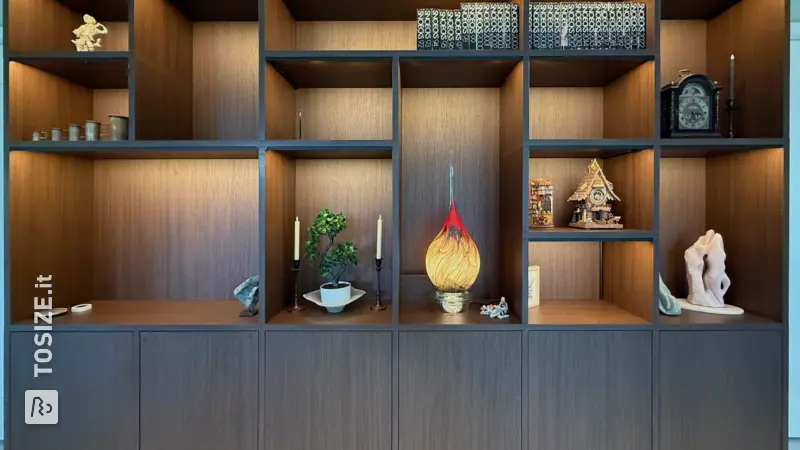
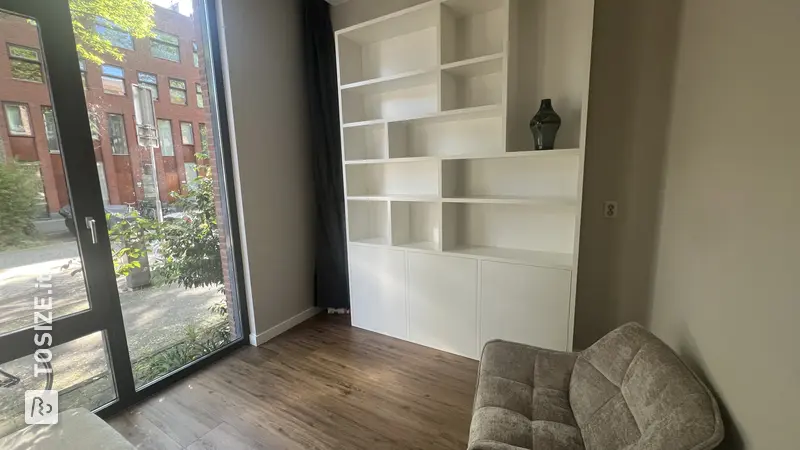
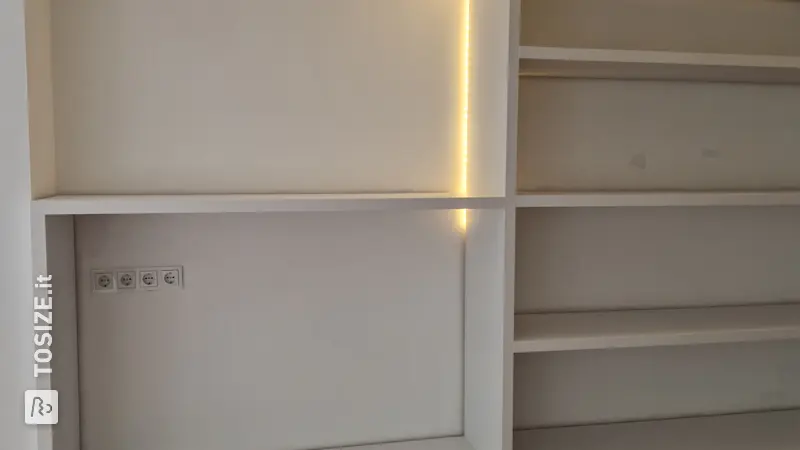
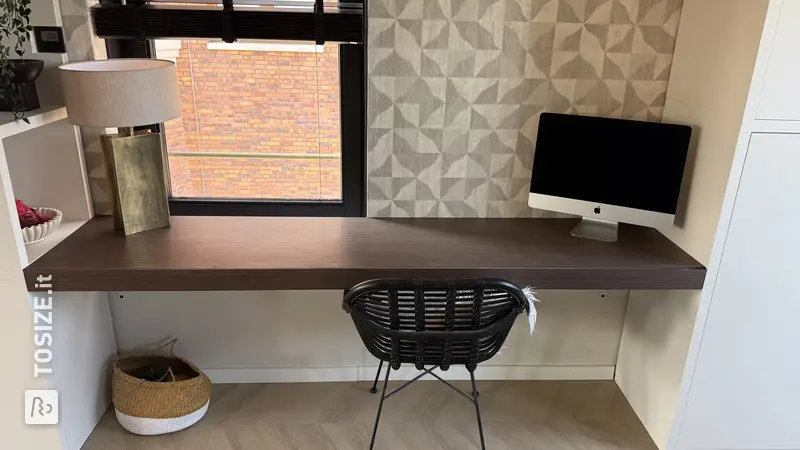
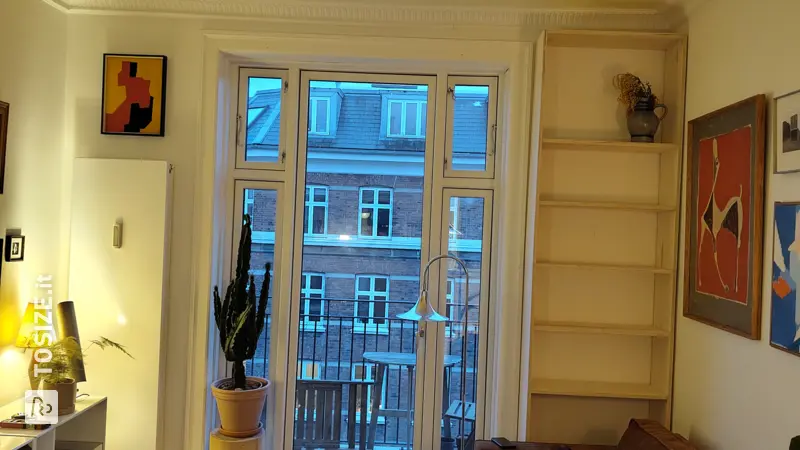
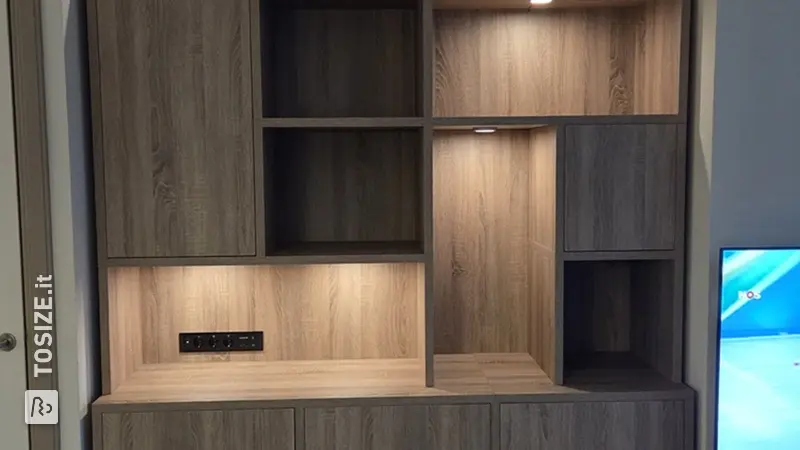
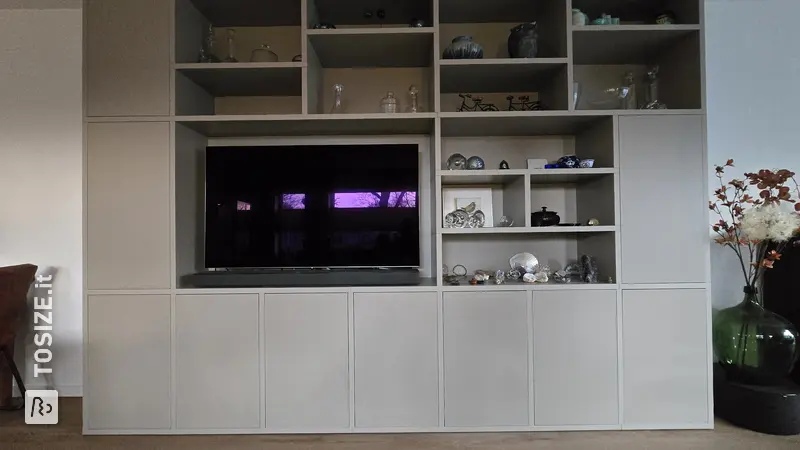
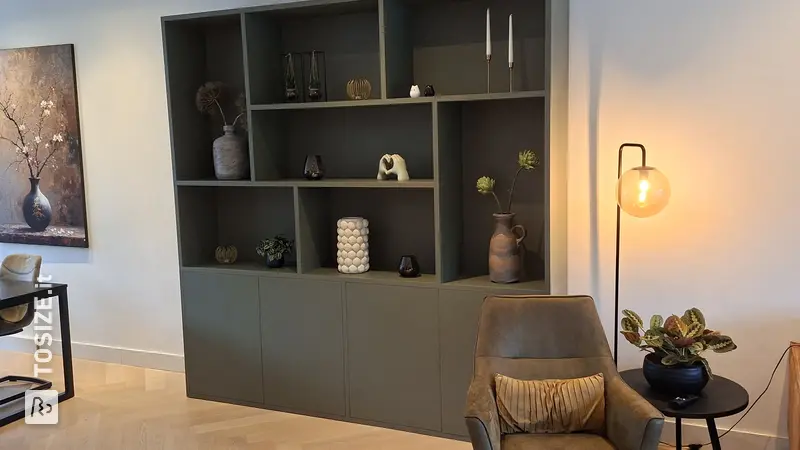
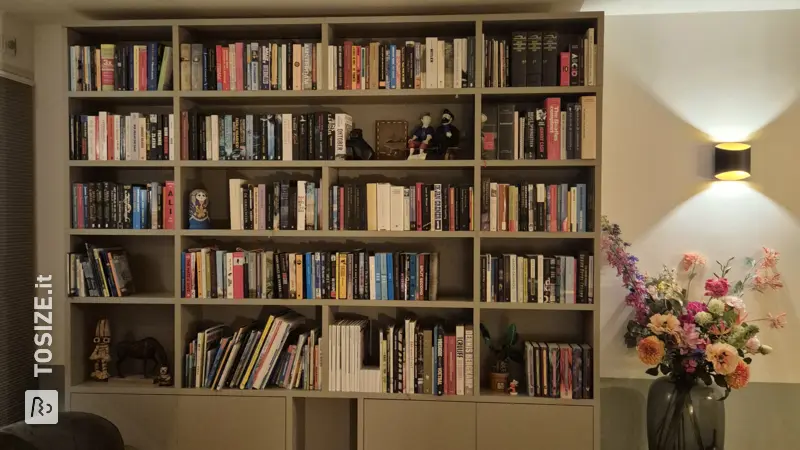
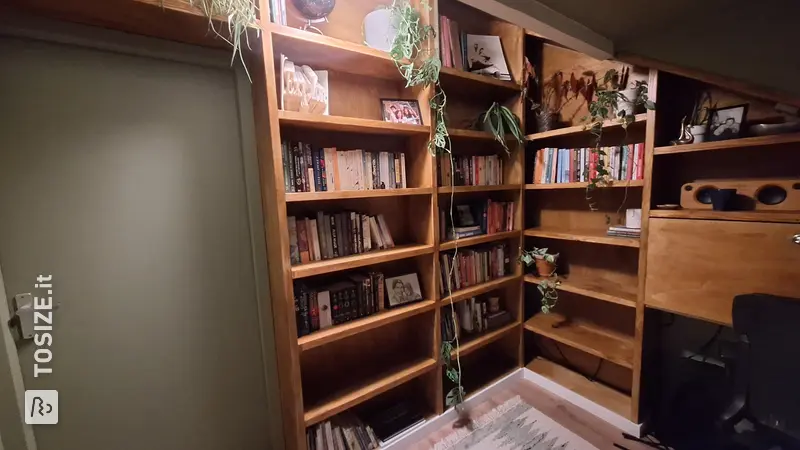
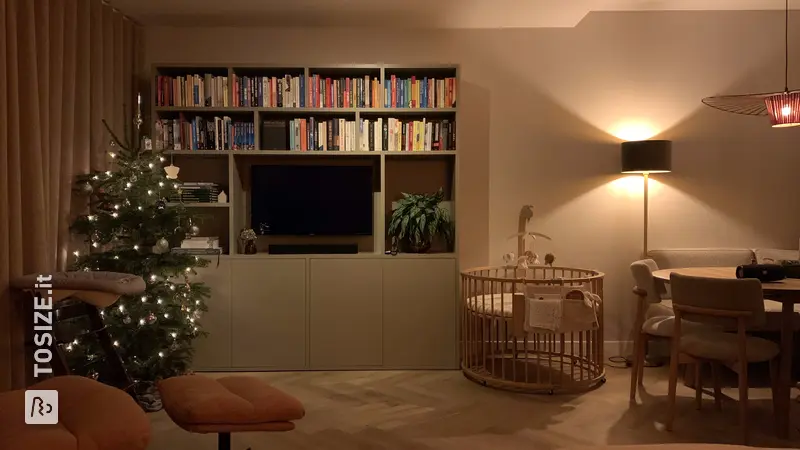
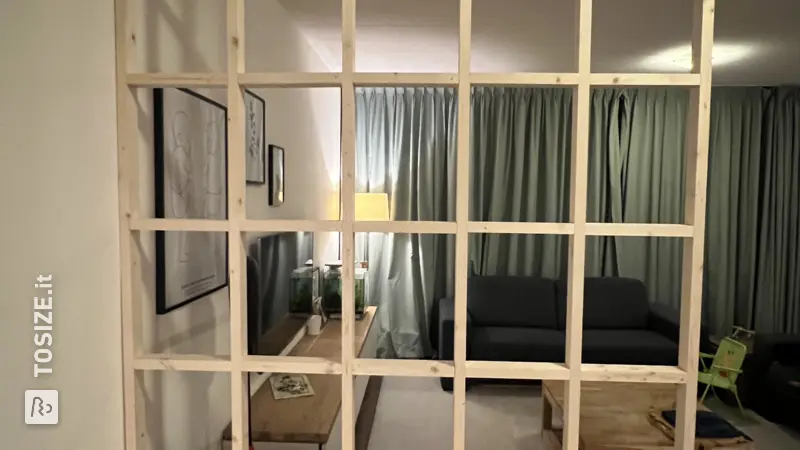
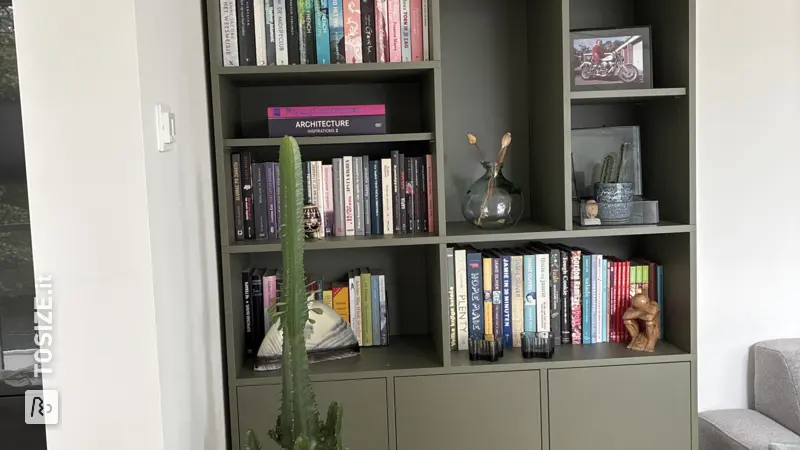
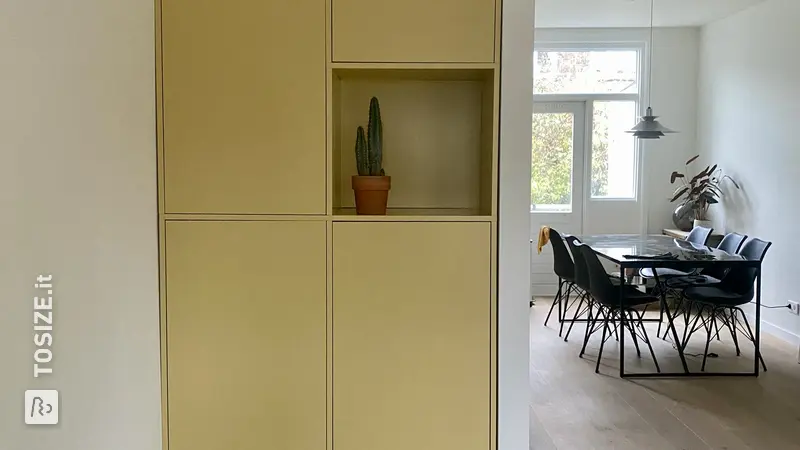
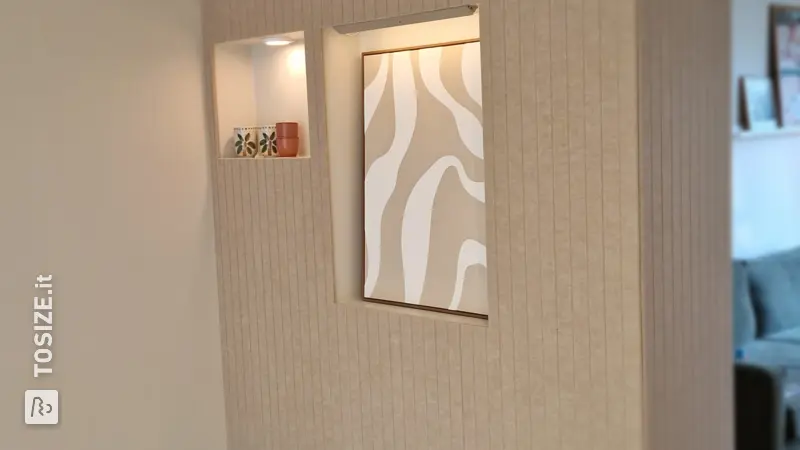
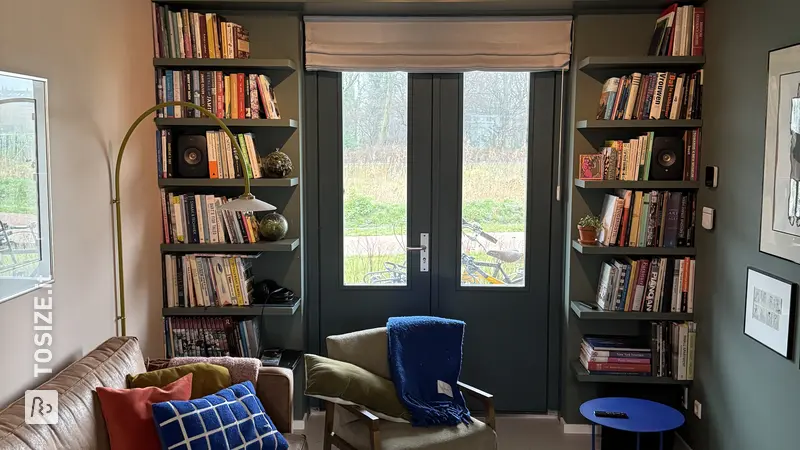
I wanted to make a medium-height wall cabinet with a taller section on one side. This would allow me to break up the space, conceal the door somewhat, but still let light through. I used an existing design for a scaffolding wood compartment cabinet as a basis, which I then adapted to my own requirements.
What did you make?
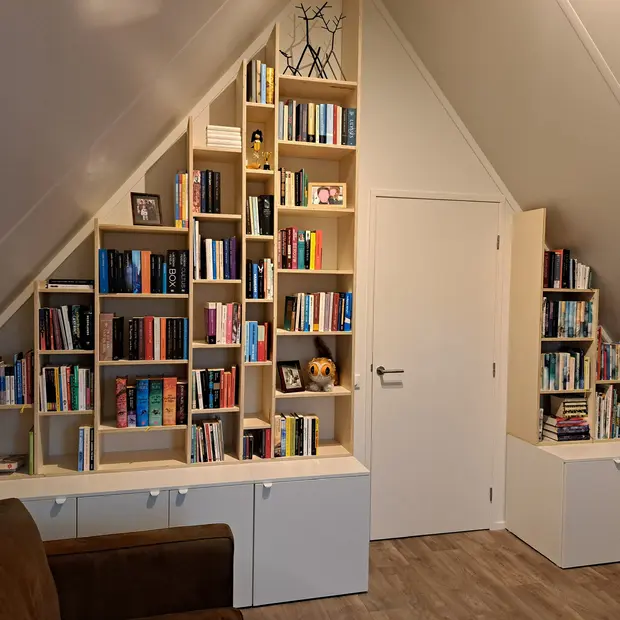
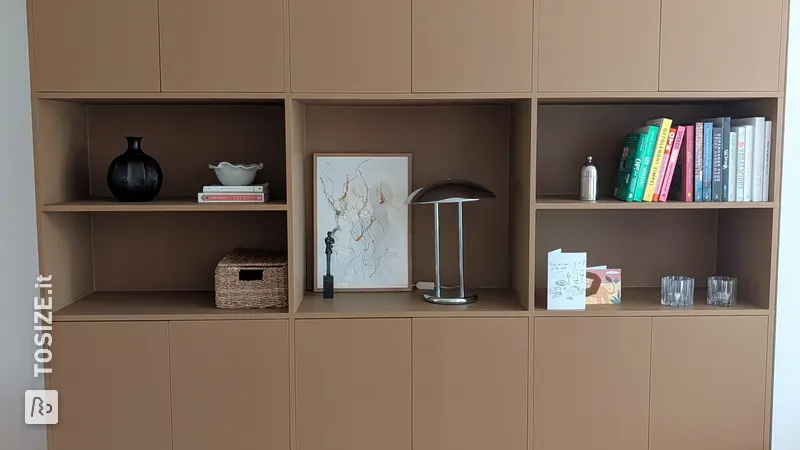
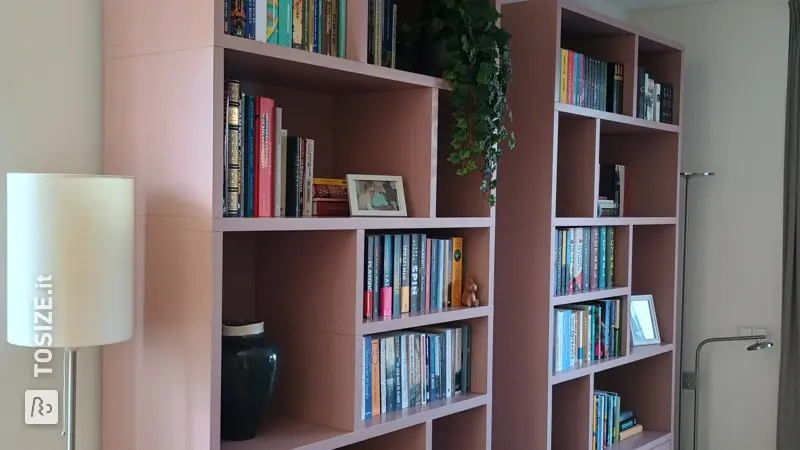
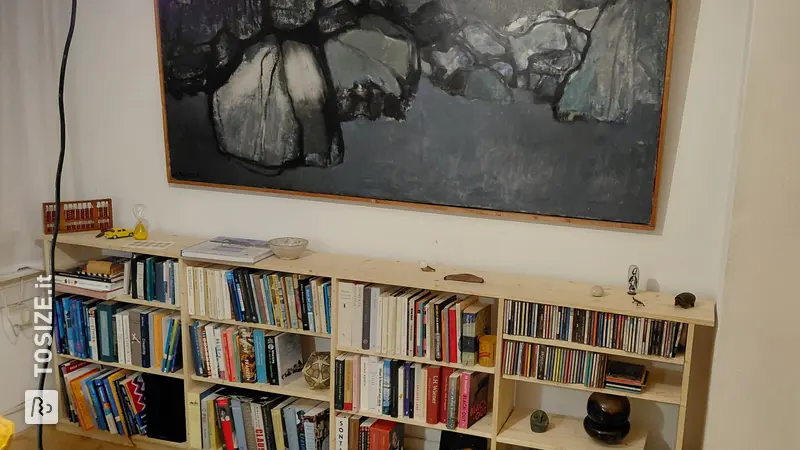
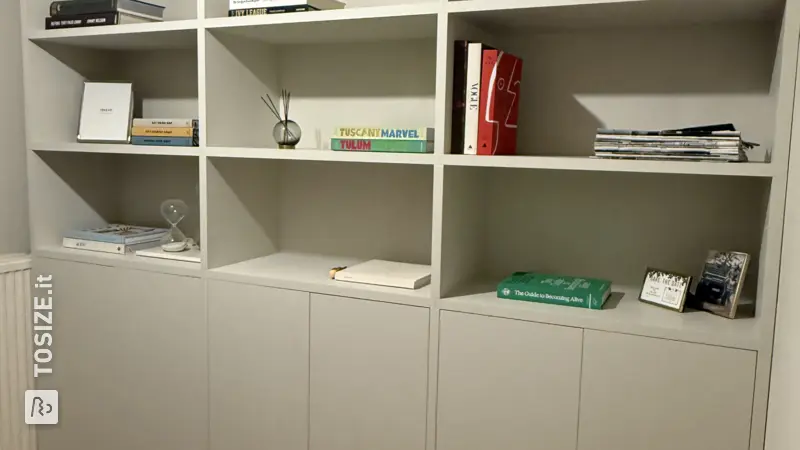
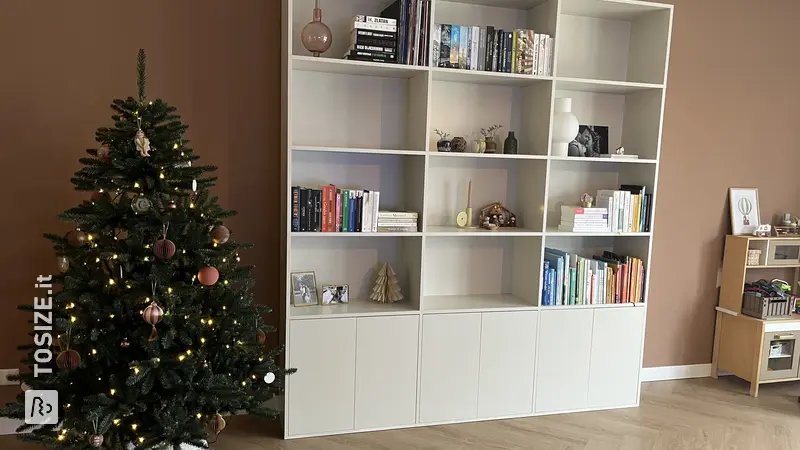
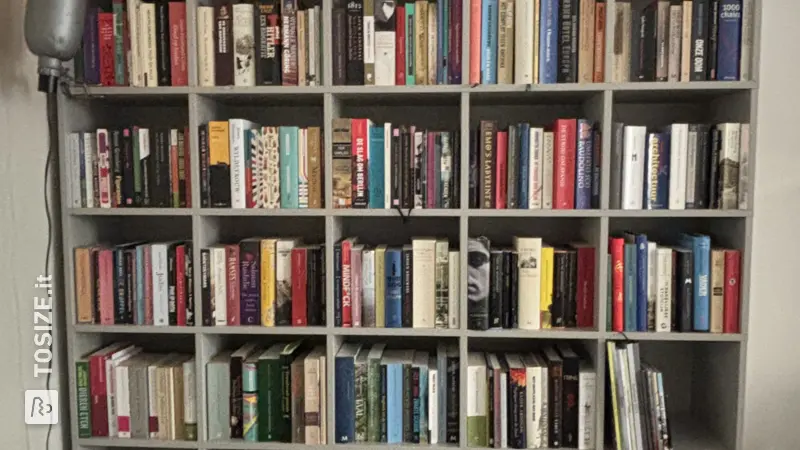
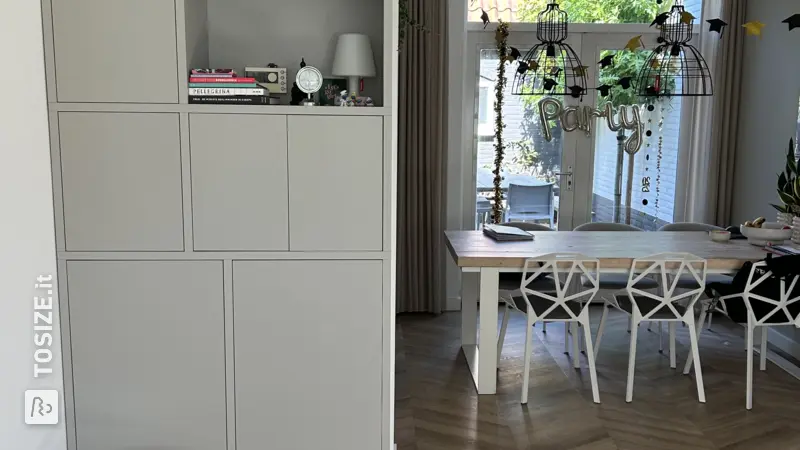
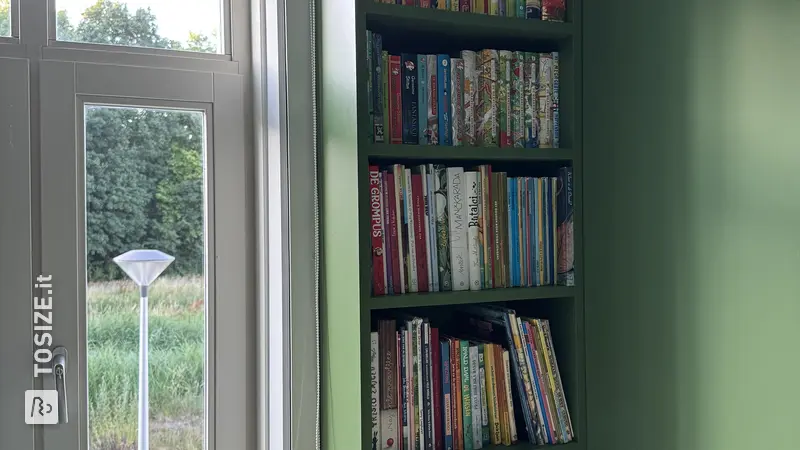
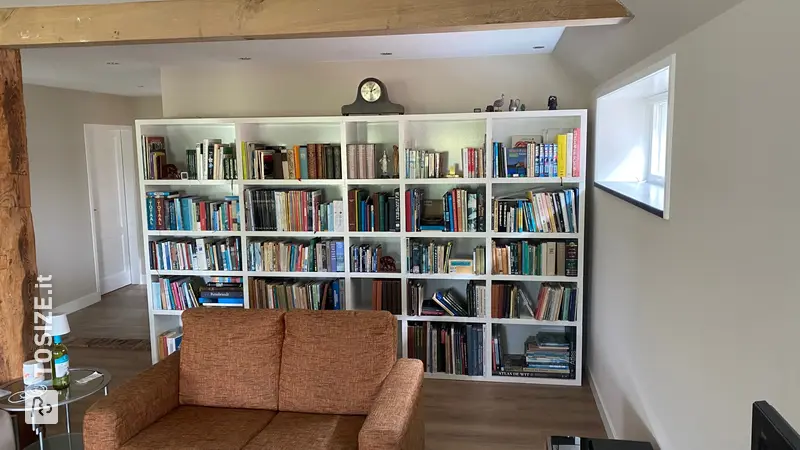
The compartments measure 37 × 37 cm, as this is easy to calculate (a shelf is 3.0 cm thick, so together they measure exactly 40.0 cm per level). In addition, most storage boxes measuring approximately 33 × 33 × 33 cm fit well here, with sufficient space around them, even for the corner slats of the cabinet.
I purchased 3 × 3 cm beams and had them cut to size by TOSIZE.it:
- 6 pieces of 30.0 cm
- 6 pieces of 25.0 cm
- 6 pieces of 20.0 cm
This allowed me to screw the boards above and below more securely. I found the standard 18 × 30 mm slats too narrow for this, so I replaced them.
The back wall of the cabinet turned out to be slightly too wide — this is difficult to calculate in advance with scaffolding wood, because the plank width can vary somewhat. I solved this by inserting a 1 cm slat at the back. This keeps everything nice and straight.
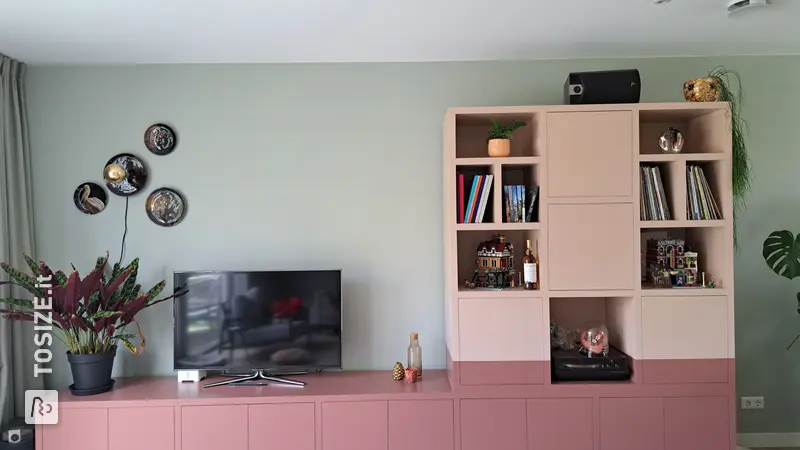
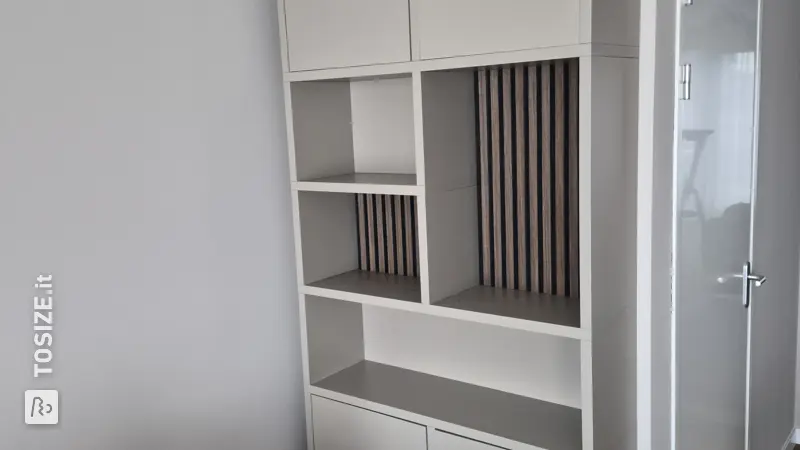
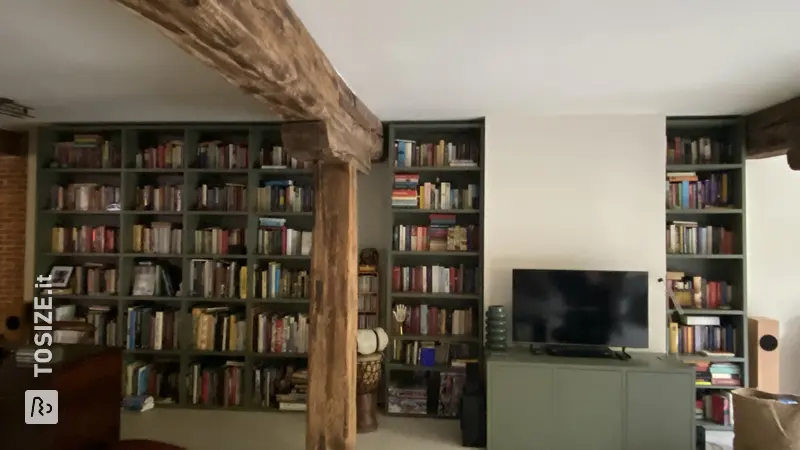
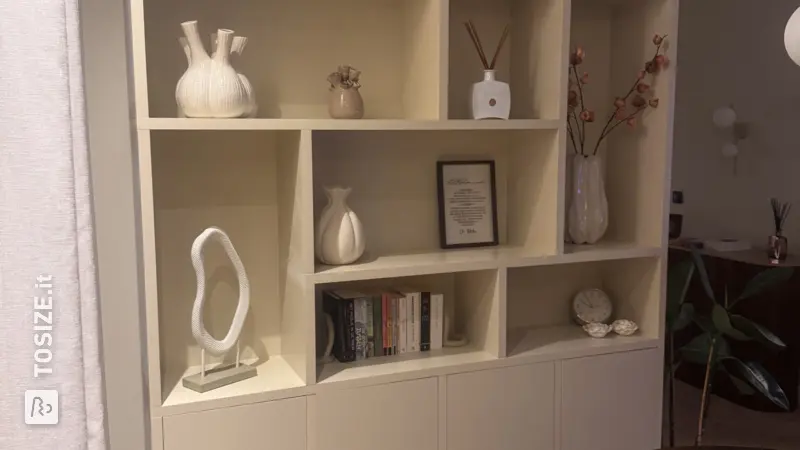
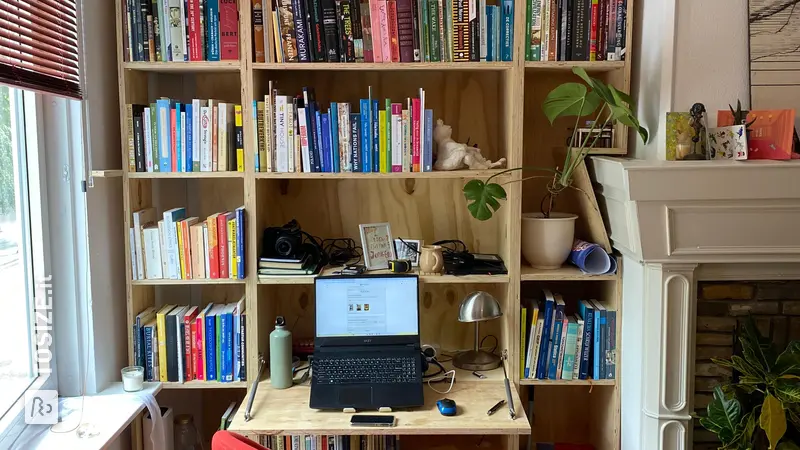
Sturdy custom-made scaffolding wood cabinet
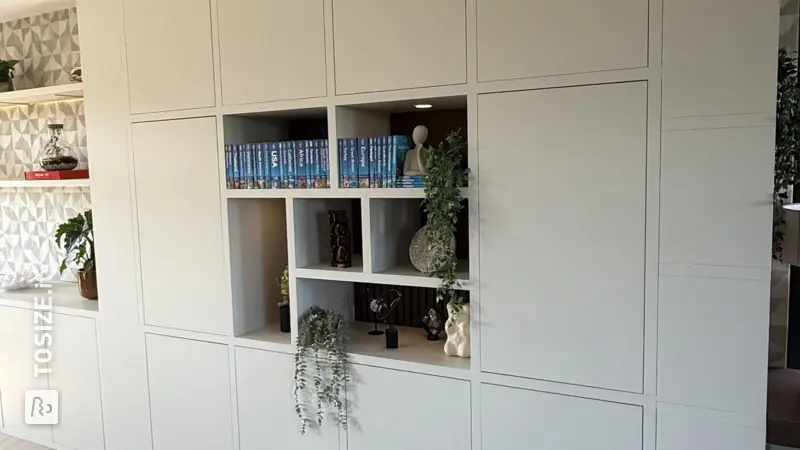
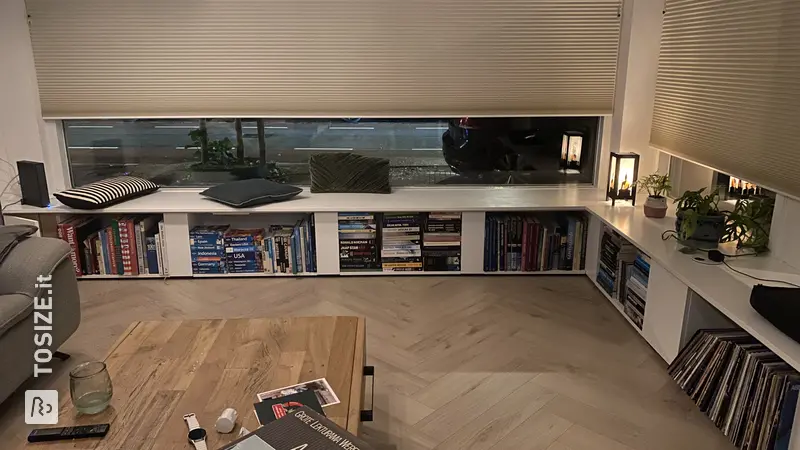
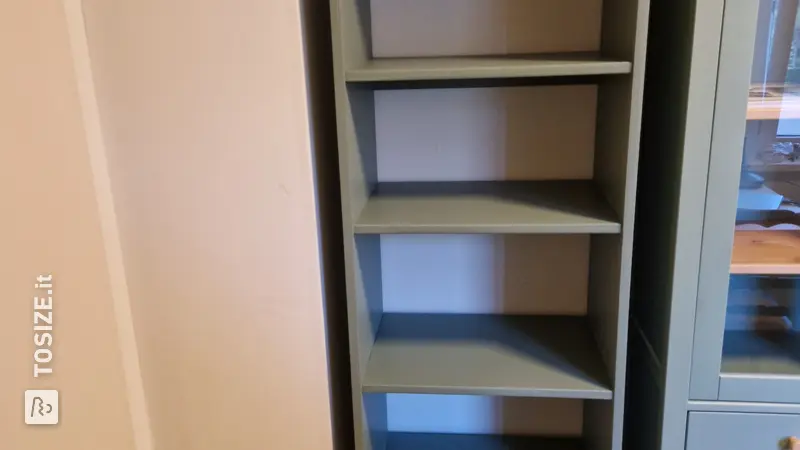
For the storage cabinet, I first assembled the side panels with the beams and slats at the correct distance. Then I screwed on the top and attached the bottom. Tip: place the loose shelves in the cabinet during assembly so that you can adjust everything tightly — but not too tightly, so that the drawers or bins still fit properly.
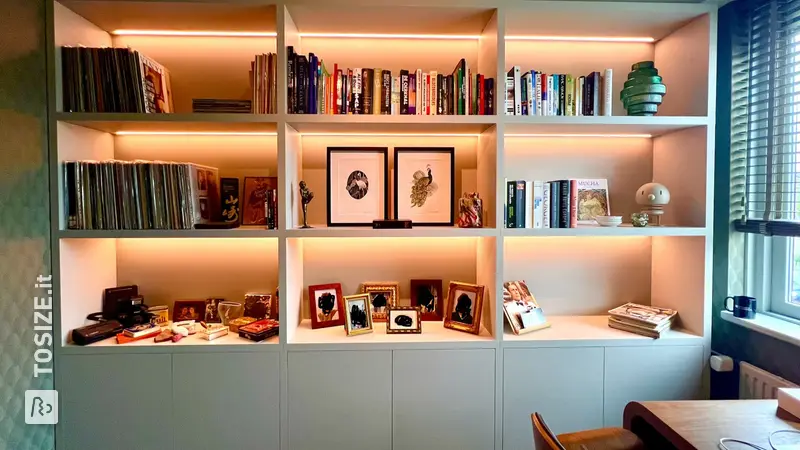
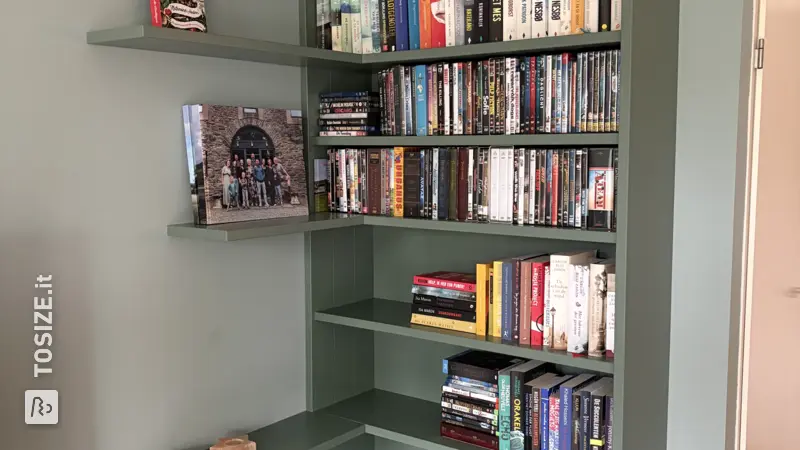
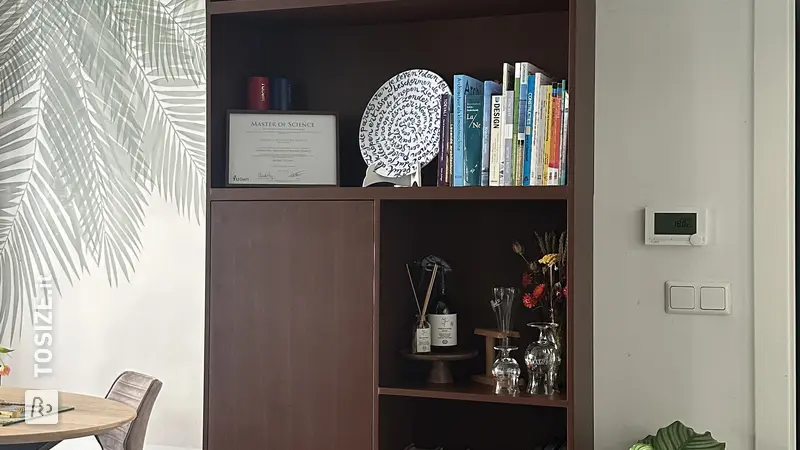
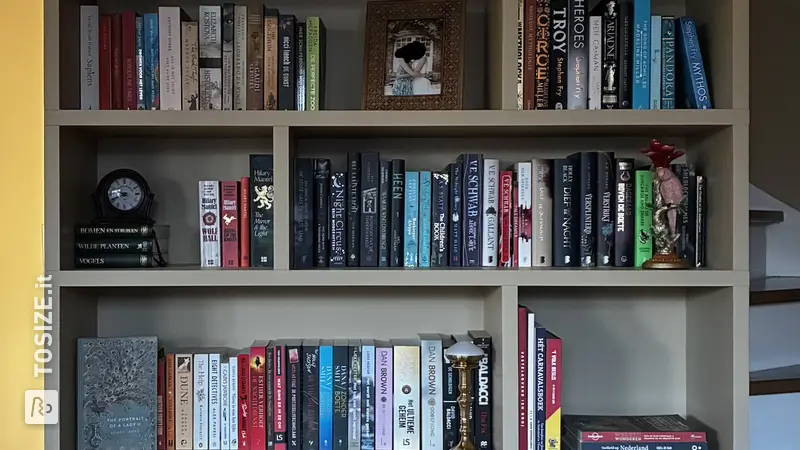
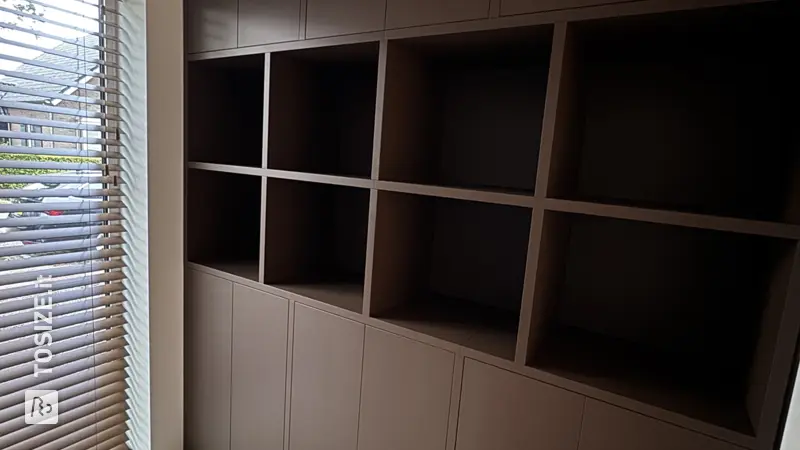
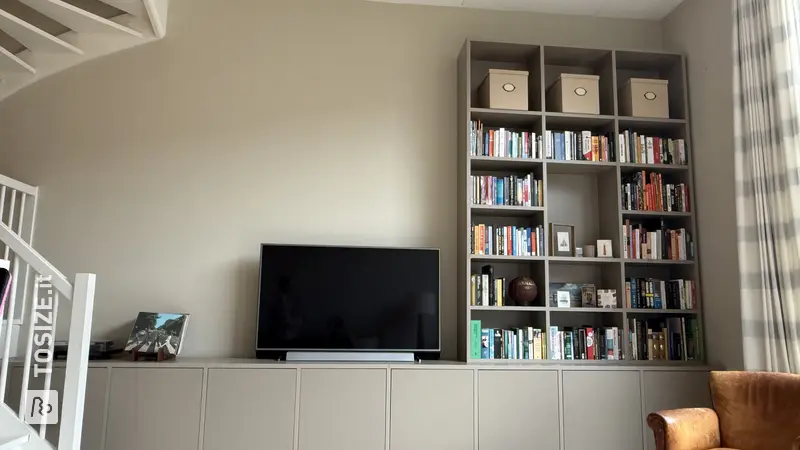
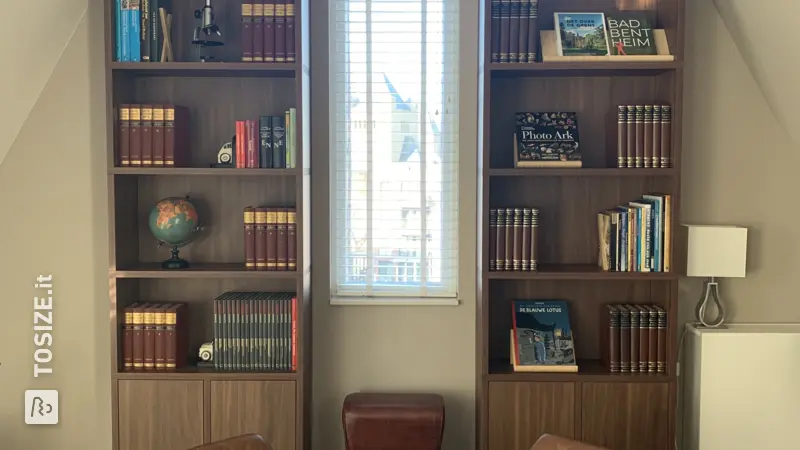
For the bookcase on top, I first assembled half of the walls, the back wall and the top, so that the top beam is not visible. Then I joined the parts together. Here too, make sure that the shelves are not too tight between the walls. I connected the bottom two back shelves with an extra slat for extra strength.
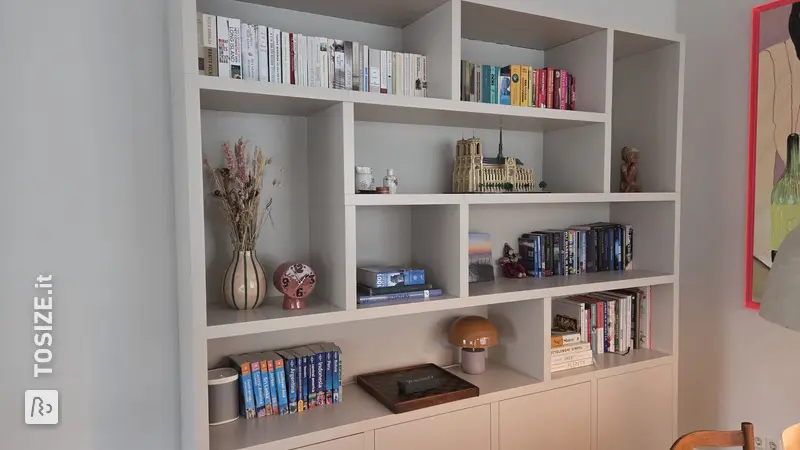
The result is a robust, practical cabinet made of scaffolding wood, with ample storage space and a playful layout. Thanks to the adjustments made to the construction, it is extra sturdy and fits perfectly into the space.
Tip! Also check out our handy DIY tips!
What now?
This is a project for inspiration. Because our assortment has changed, (some of) the products are no longer available.
View all sheet materials